Welcome to the first – and very likely, sole – edition of “Frugal Fix-Up”!
No, this is not a new series in which I try to set up personal finance bloggers on blind dates (though I’m totally making that happen).
#callmecupid

No, this little series was created for the sole purpose of showing how I built some shelves for a closet to increase storage space for cheap!
But before we get to buildin’, first, some intro.
THE PROBLEM
To say that my house is small is an understatement.
It is freaking small.
It’s one part of a duplex.
It’s probably less than 1000 square feet.
While it’s worth it ’cause the rent is cheap and I split it with my brother and it allows me to save a bunch of money – sometimes its size still presents an issue.
Namely, that it can be really difficult to find a space in which to cram our stuff. We have a very limited number of closets, and the ones we do have are tiny, are built for wardrobes, and have one shelf. With just one measly shelf, they often look like this:
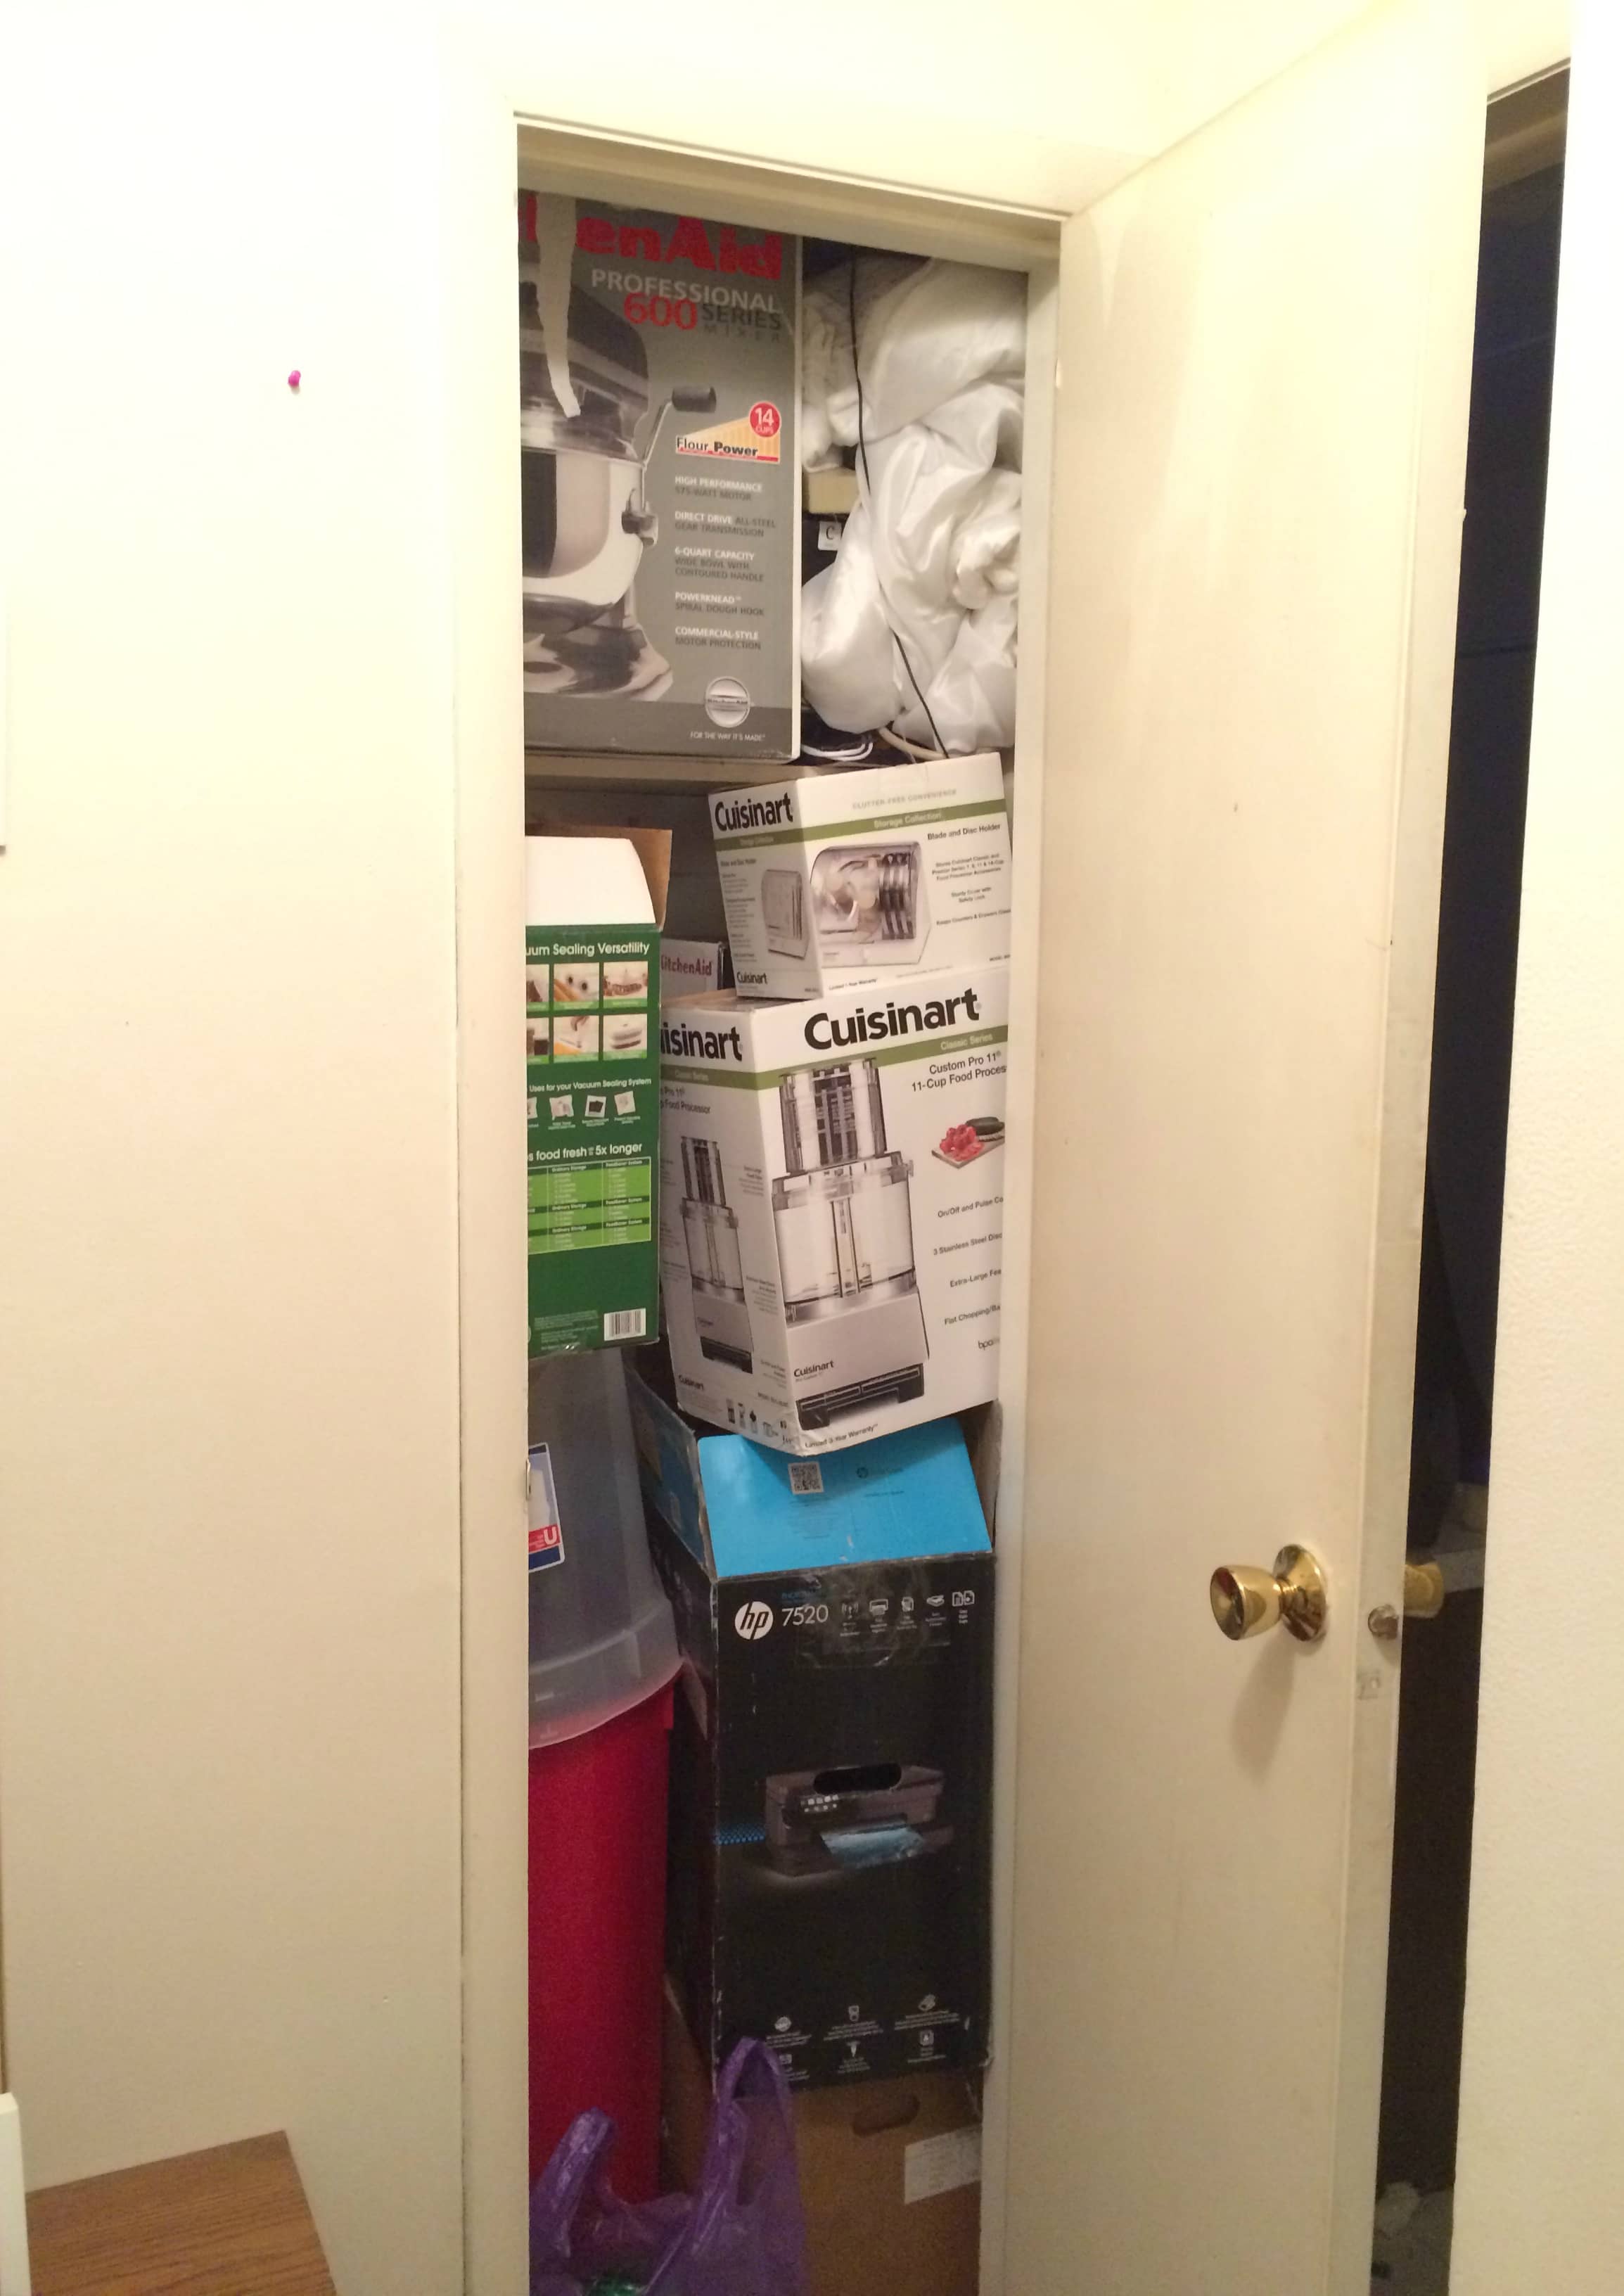

There had to be a way to improve these closets.
Fortunately, the shelves that were already installed in the closets were of a simple design and were super easy to replicate.
With just a little DIY knowledge and a surprising amount of motivation for a Sunday, we actually managed to turn that wreck of a closet into this:
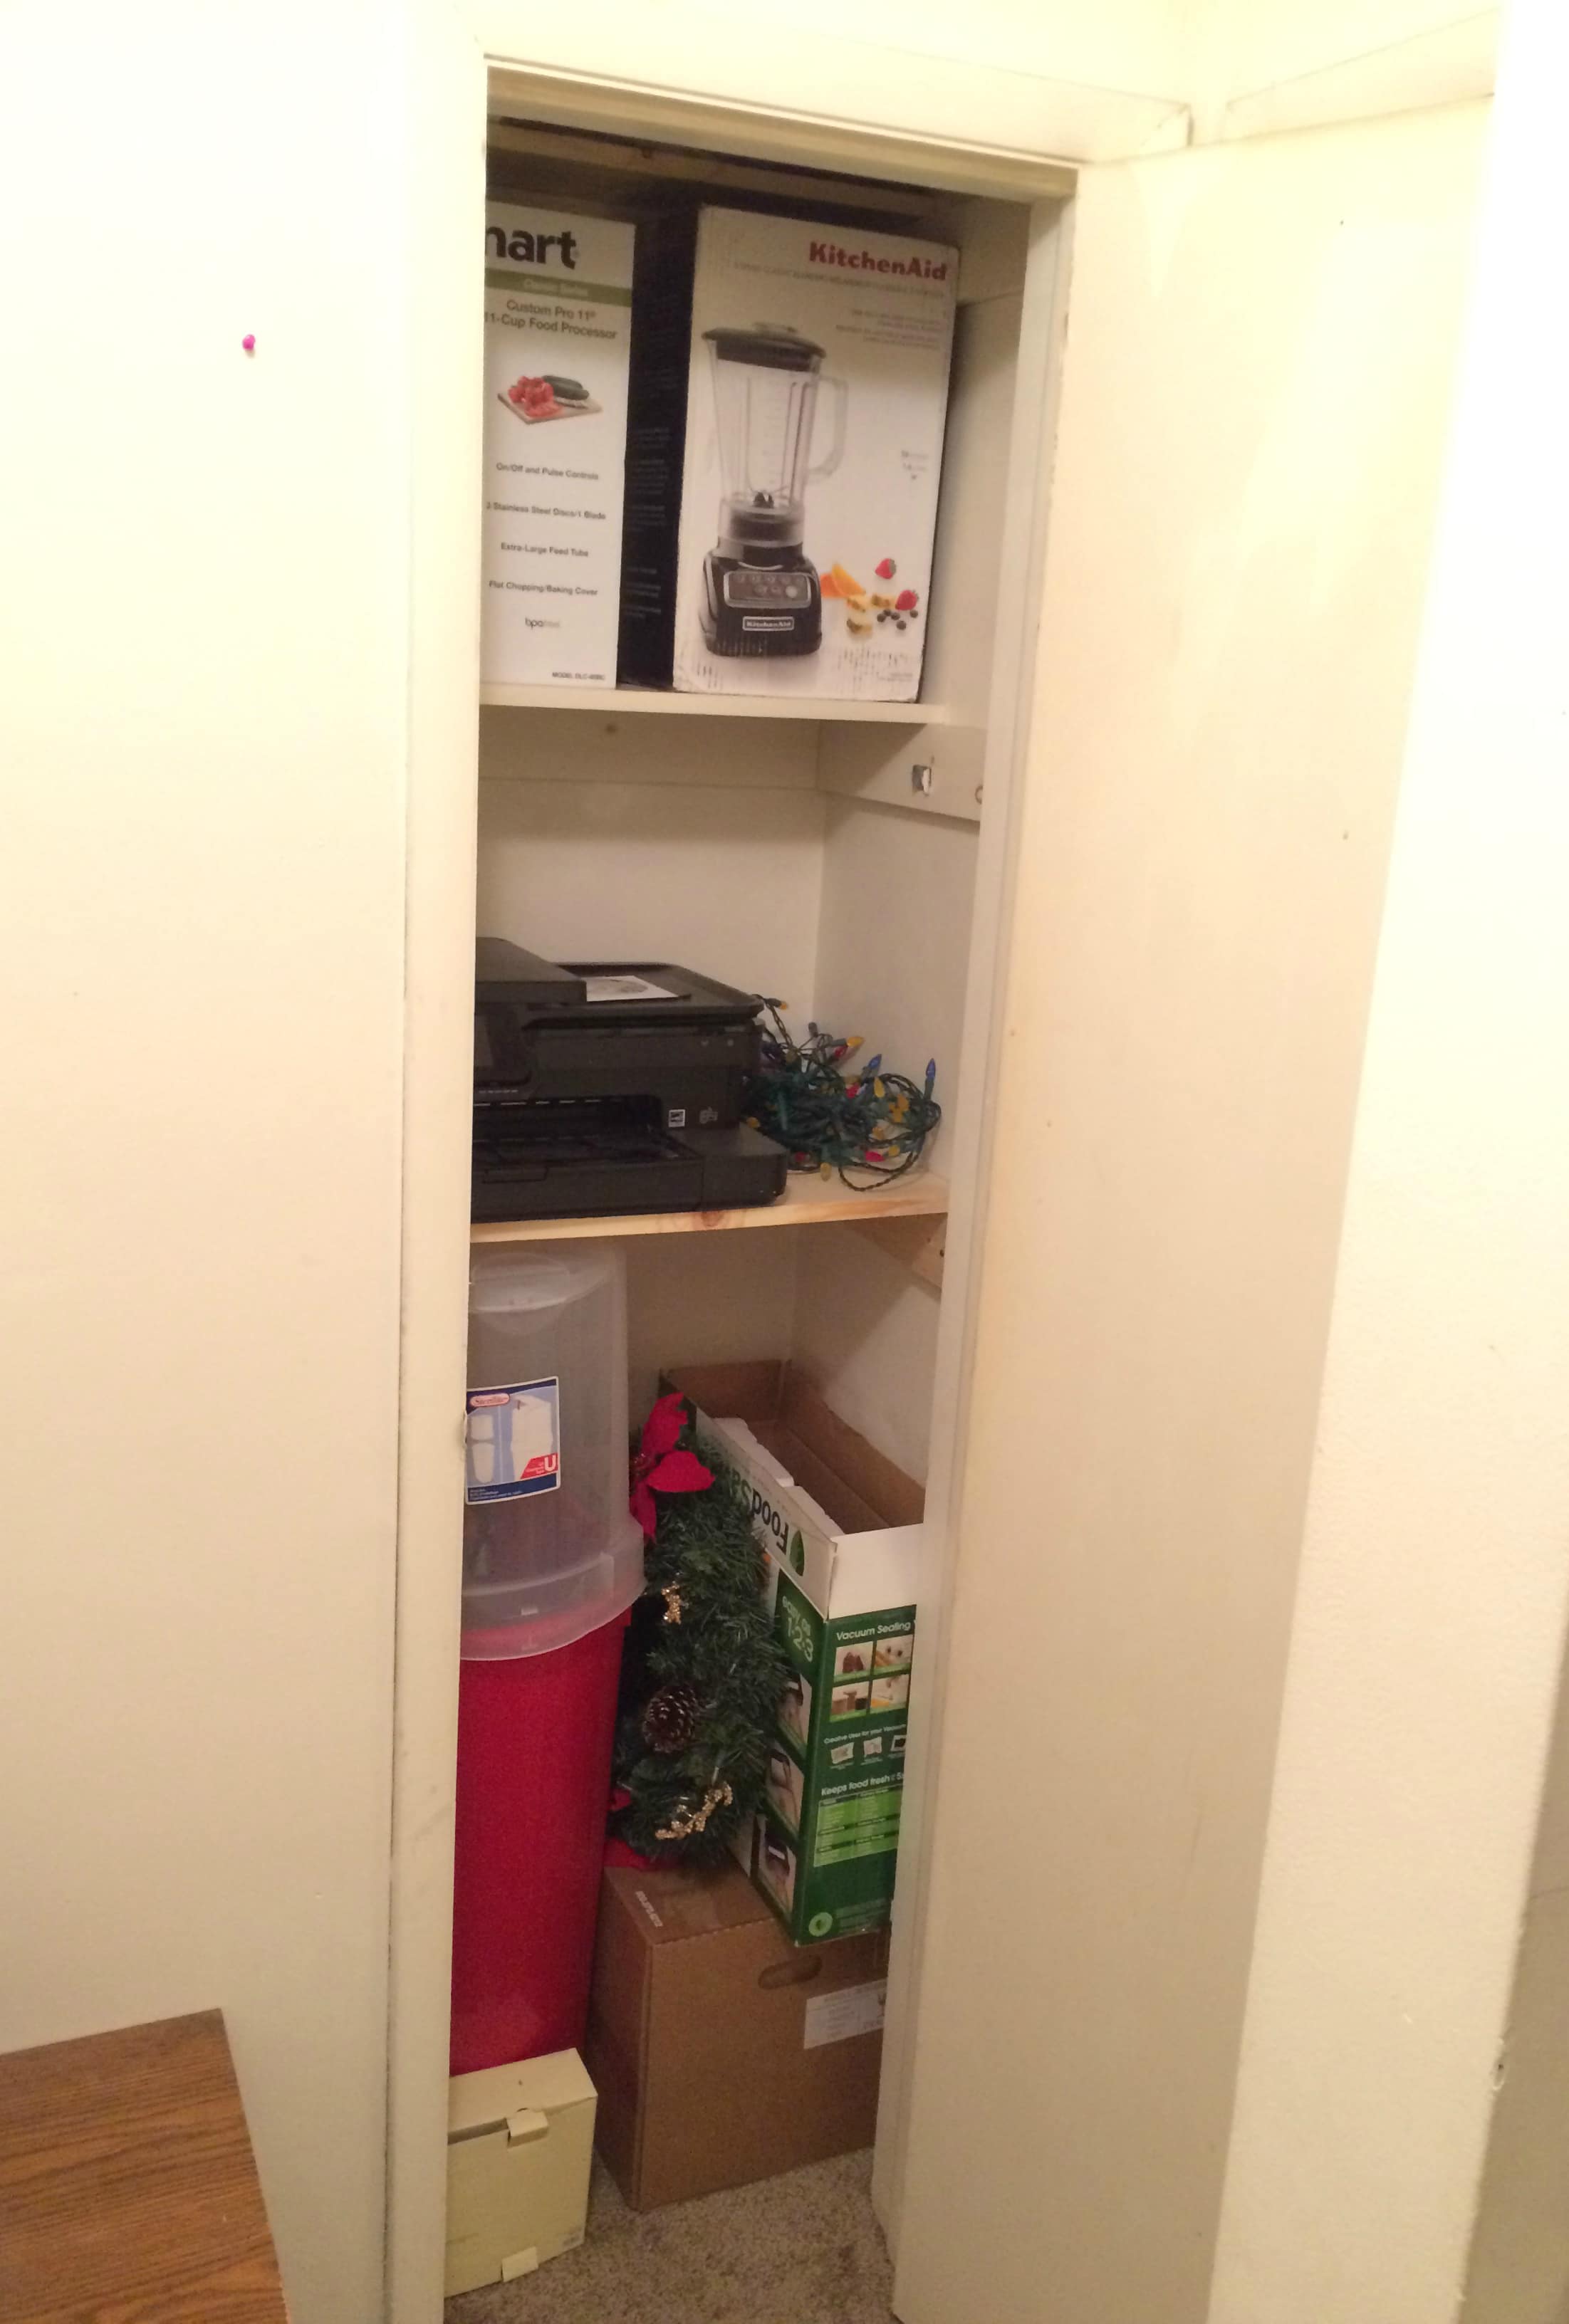
Better, right?
And it was pretty easy, actually. We took some simple measurements, found the wood, had it cut, purchased it, then came home and installed it. The whole thing took less than two hours and cost $37.00 (for two closets!).
No expensive power tools were needed. Just a hammer and some nails.
And while it’s not the prettiest looking thing, it’s easily customizable. The basic design here can work with any number of materials or wood types, easily adjusting to match your decor. If you wanted to create nicer shelves, or paint them, that’s easily doable without breaking the bank.
I don’t really care that much. We hardly use the closet anyways. More just a place to stash the stuff we never use.
Curious how we did it? Wonder no more! You can find the full walkthrough below.
Never built/repaired something or used a hammer before? I promise it’s easy!
WALKTHROUGH
THE DESIGN
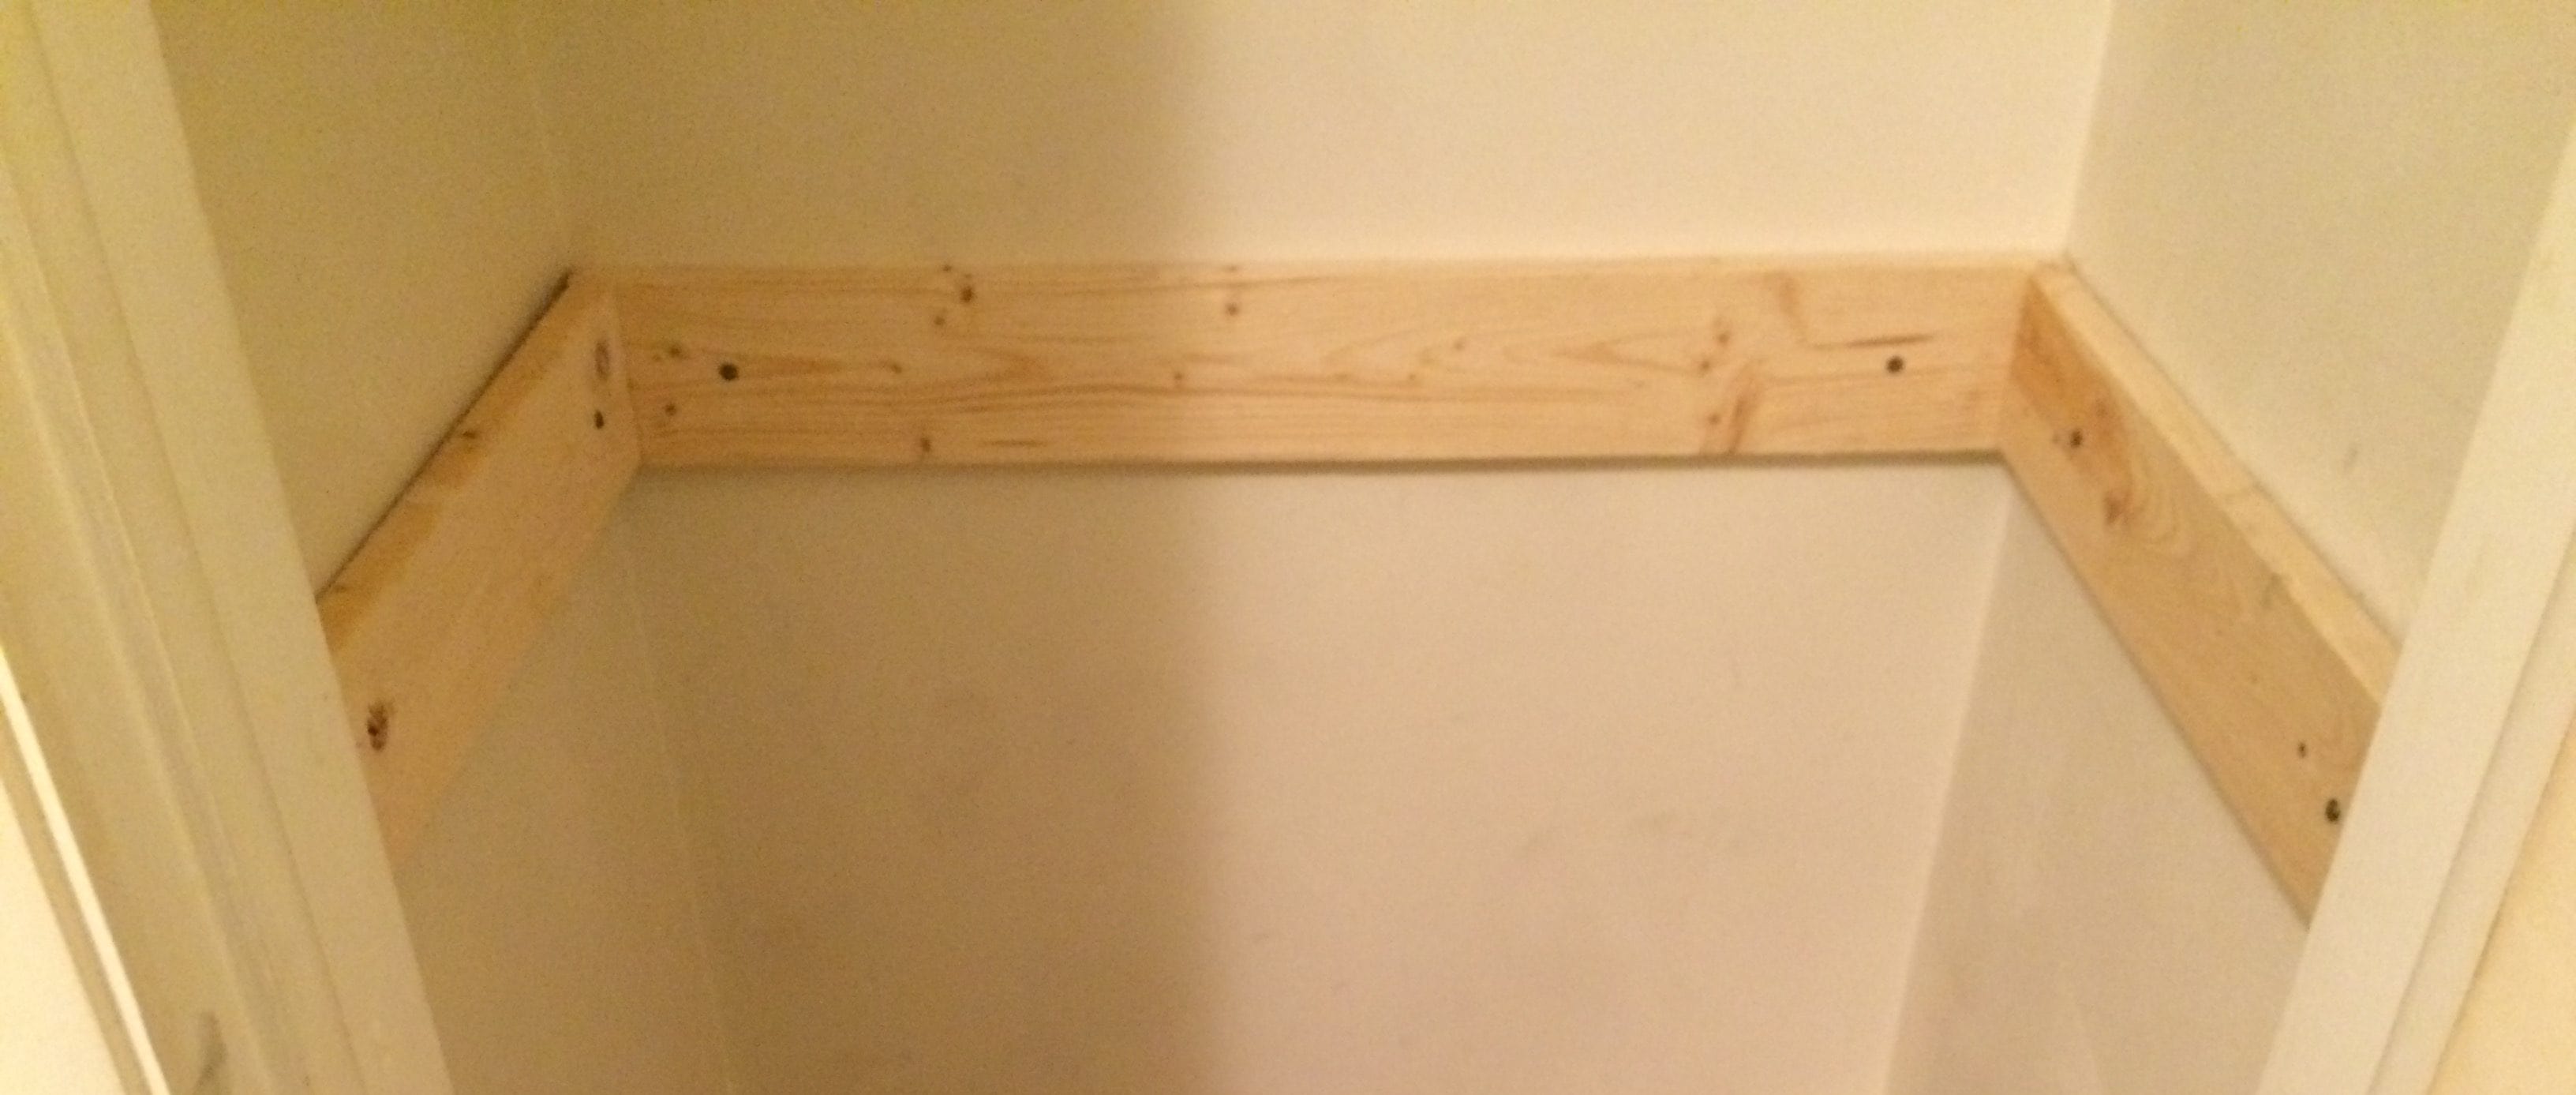
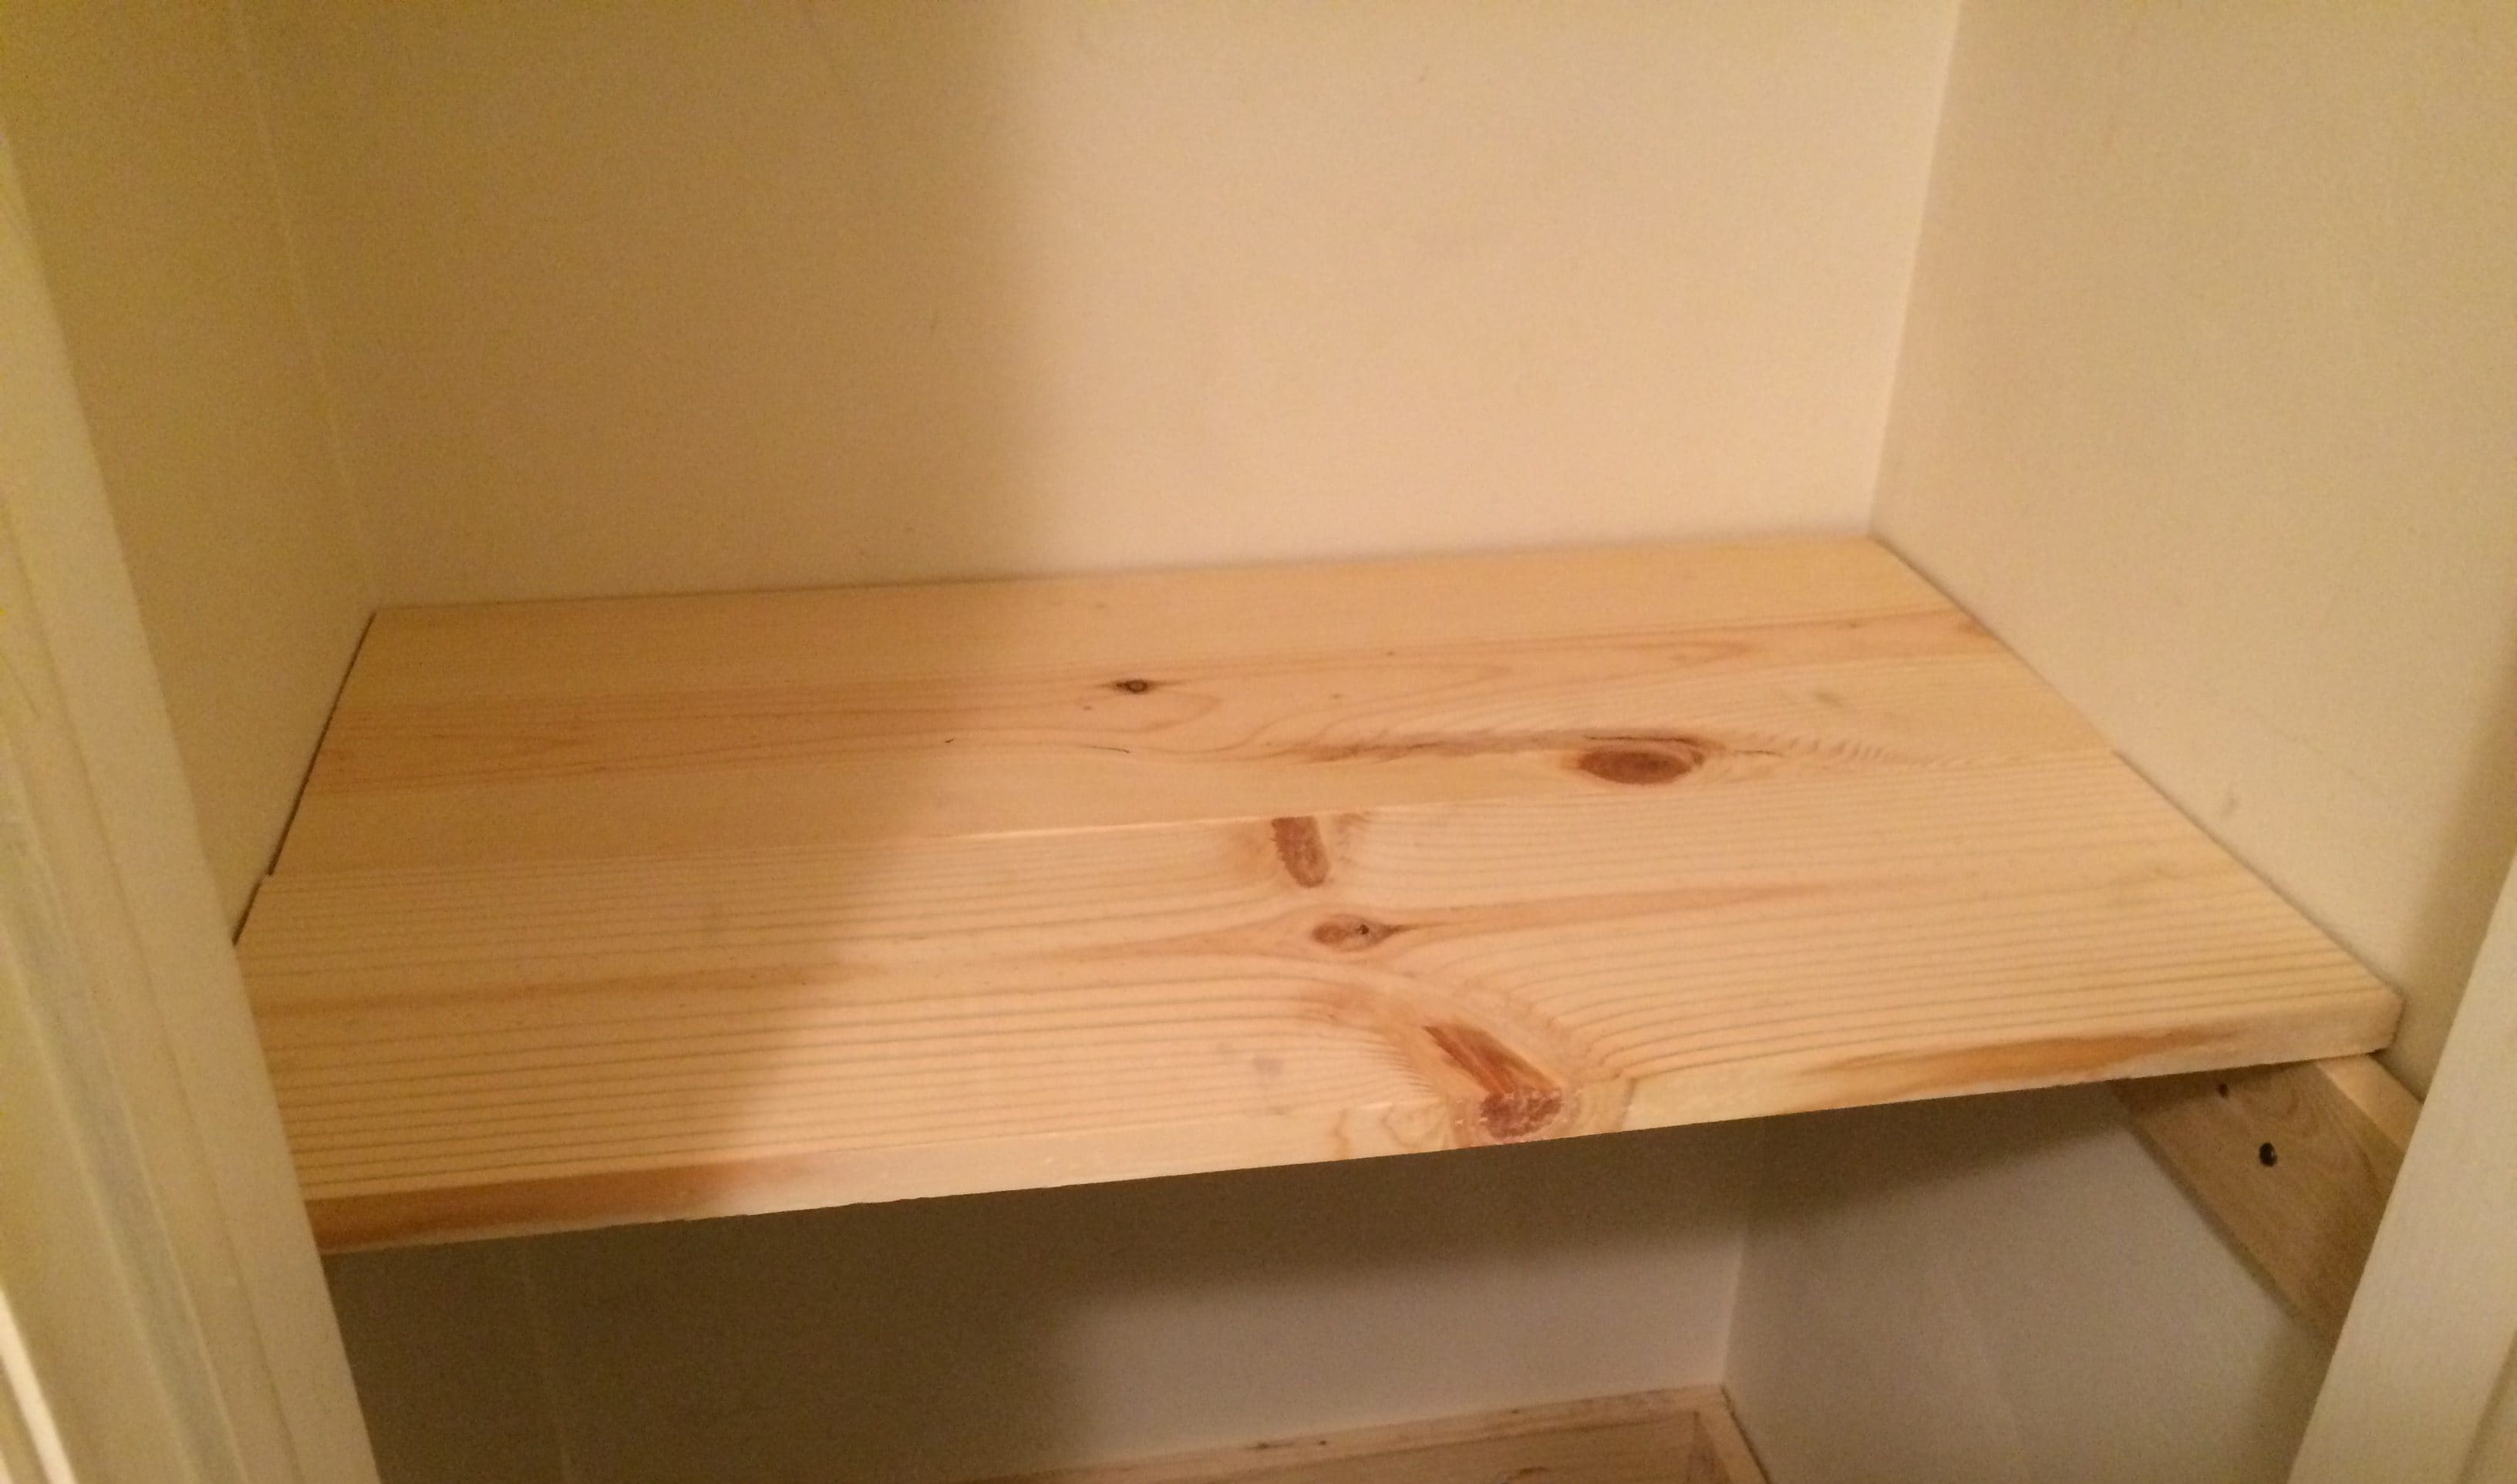
The design of the shelf is extremely simple. It consists of one backboard and two side boards that act as our base, and support the shelf. Two pieces of wood lie across the base that serve as the actual shelf.
Here’s a crude (if not downright childish) representation:

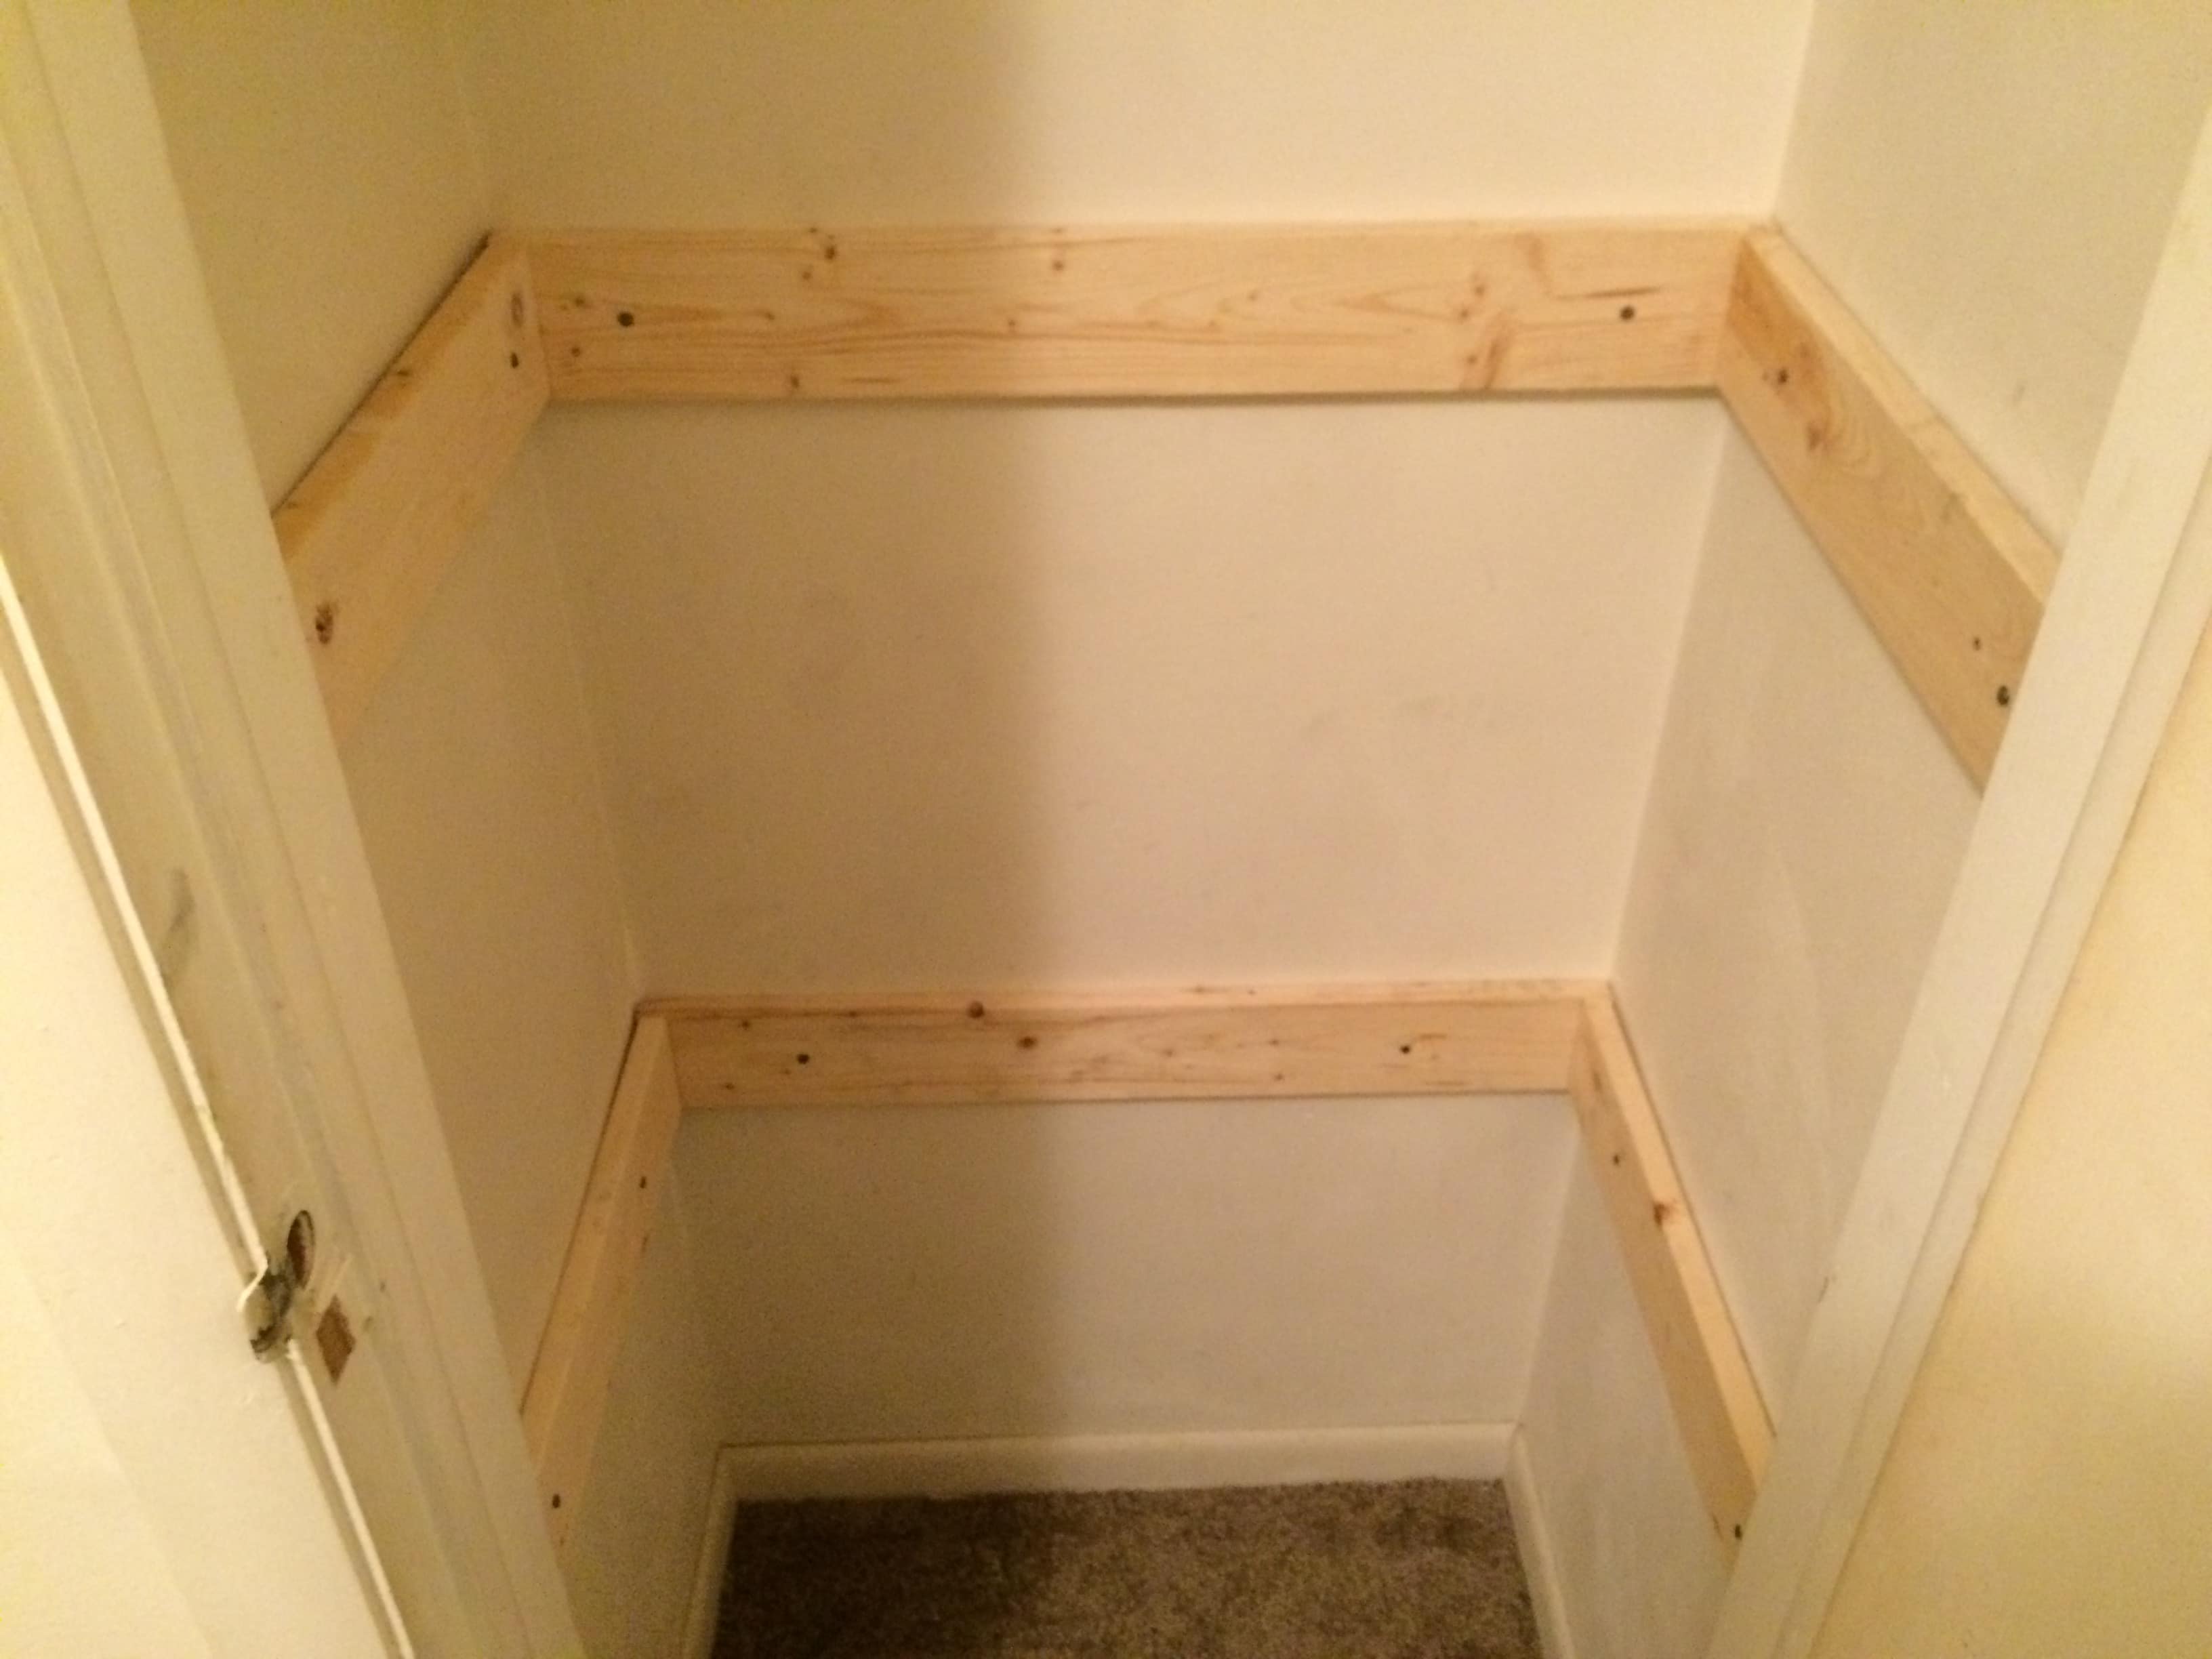
Here’s a photo of the base of one shelf:
And a photo of what one shelf looks like complete:
WHAT YOU NEED
To build these closet shelves, we’ll need:
- A hammer
- Nails
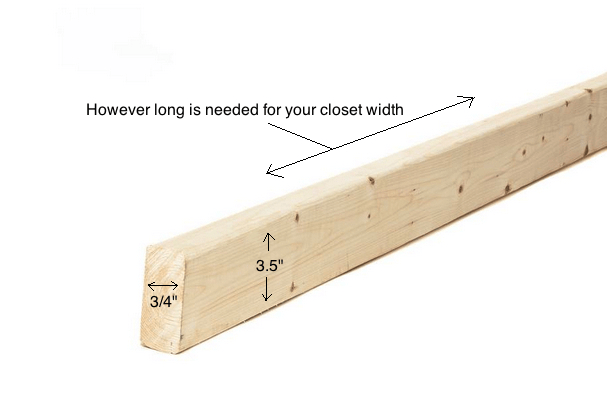
- Three pieces of wood for the base. I recommend using a 3/4″ thick, 3.5″ wide piece of wood (the length will vary based on whether it’s a back or side board). Our side pieces were only 23″ in length, but the back piece was 34″. Here’s a photo of the type of wood we used:
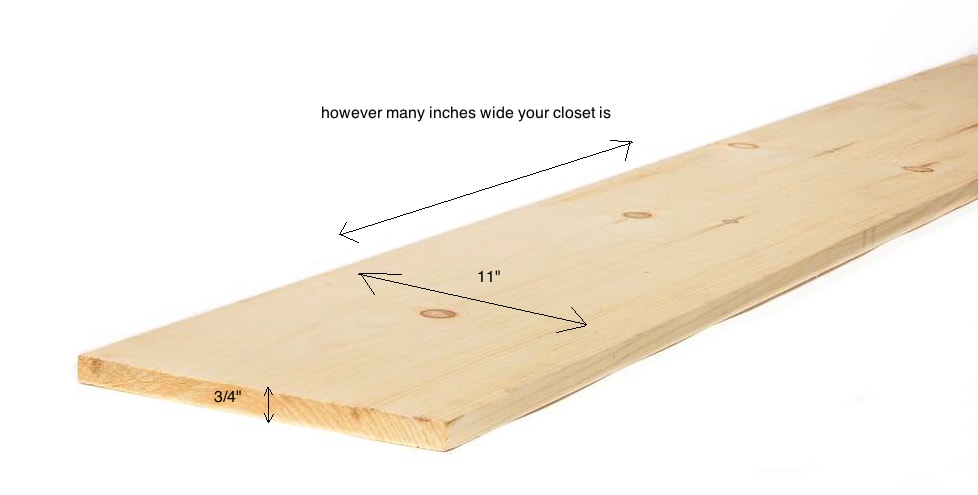
- Two pieces of wood for the shelves. I recommend a 3/4″ thick board that’s about half the depth of your closet, measuring the same width as the back support board. In our case, it was 3/4″ thick x 11″ deep by 34″ long. Here’s a photo of the type of wood we used:
TAKING MEASUREMENTS FOR THE BASE
Taking measurements for your new closet shelves is easy.
First, measure the width of your closet from left to right (or right to left, whatevs) by placing the measuring tape flat against the back wall:
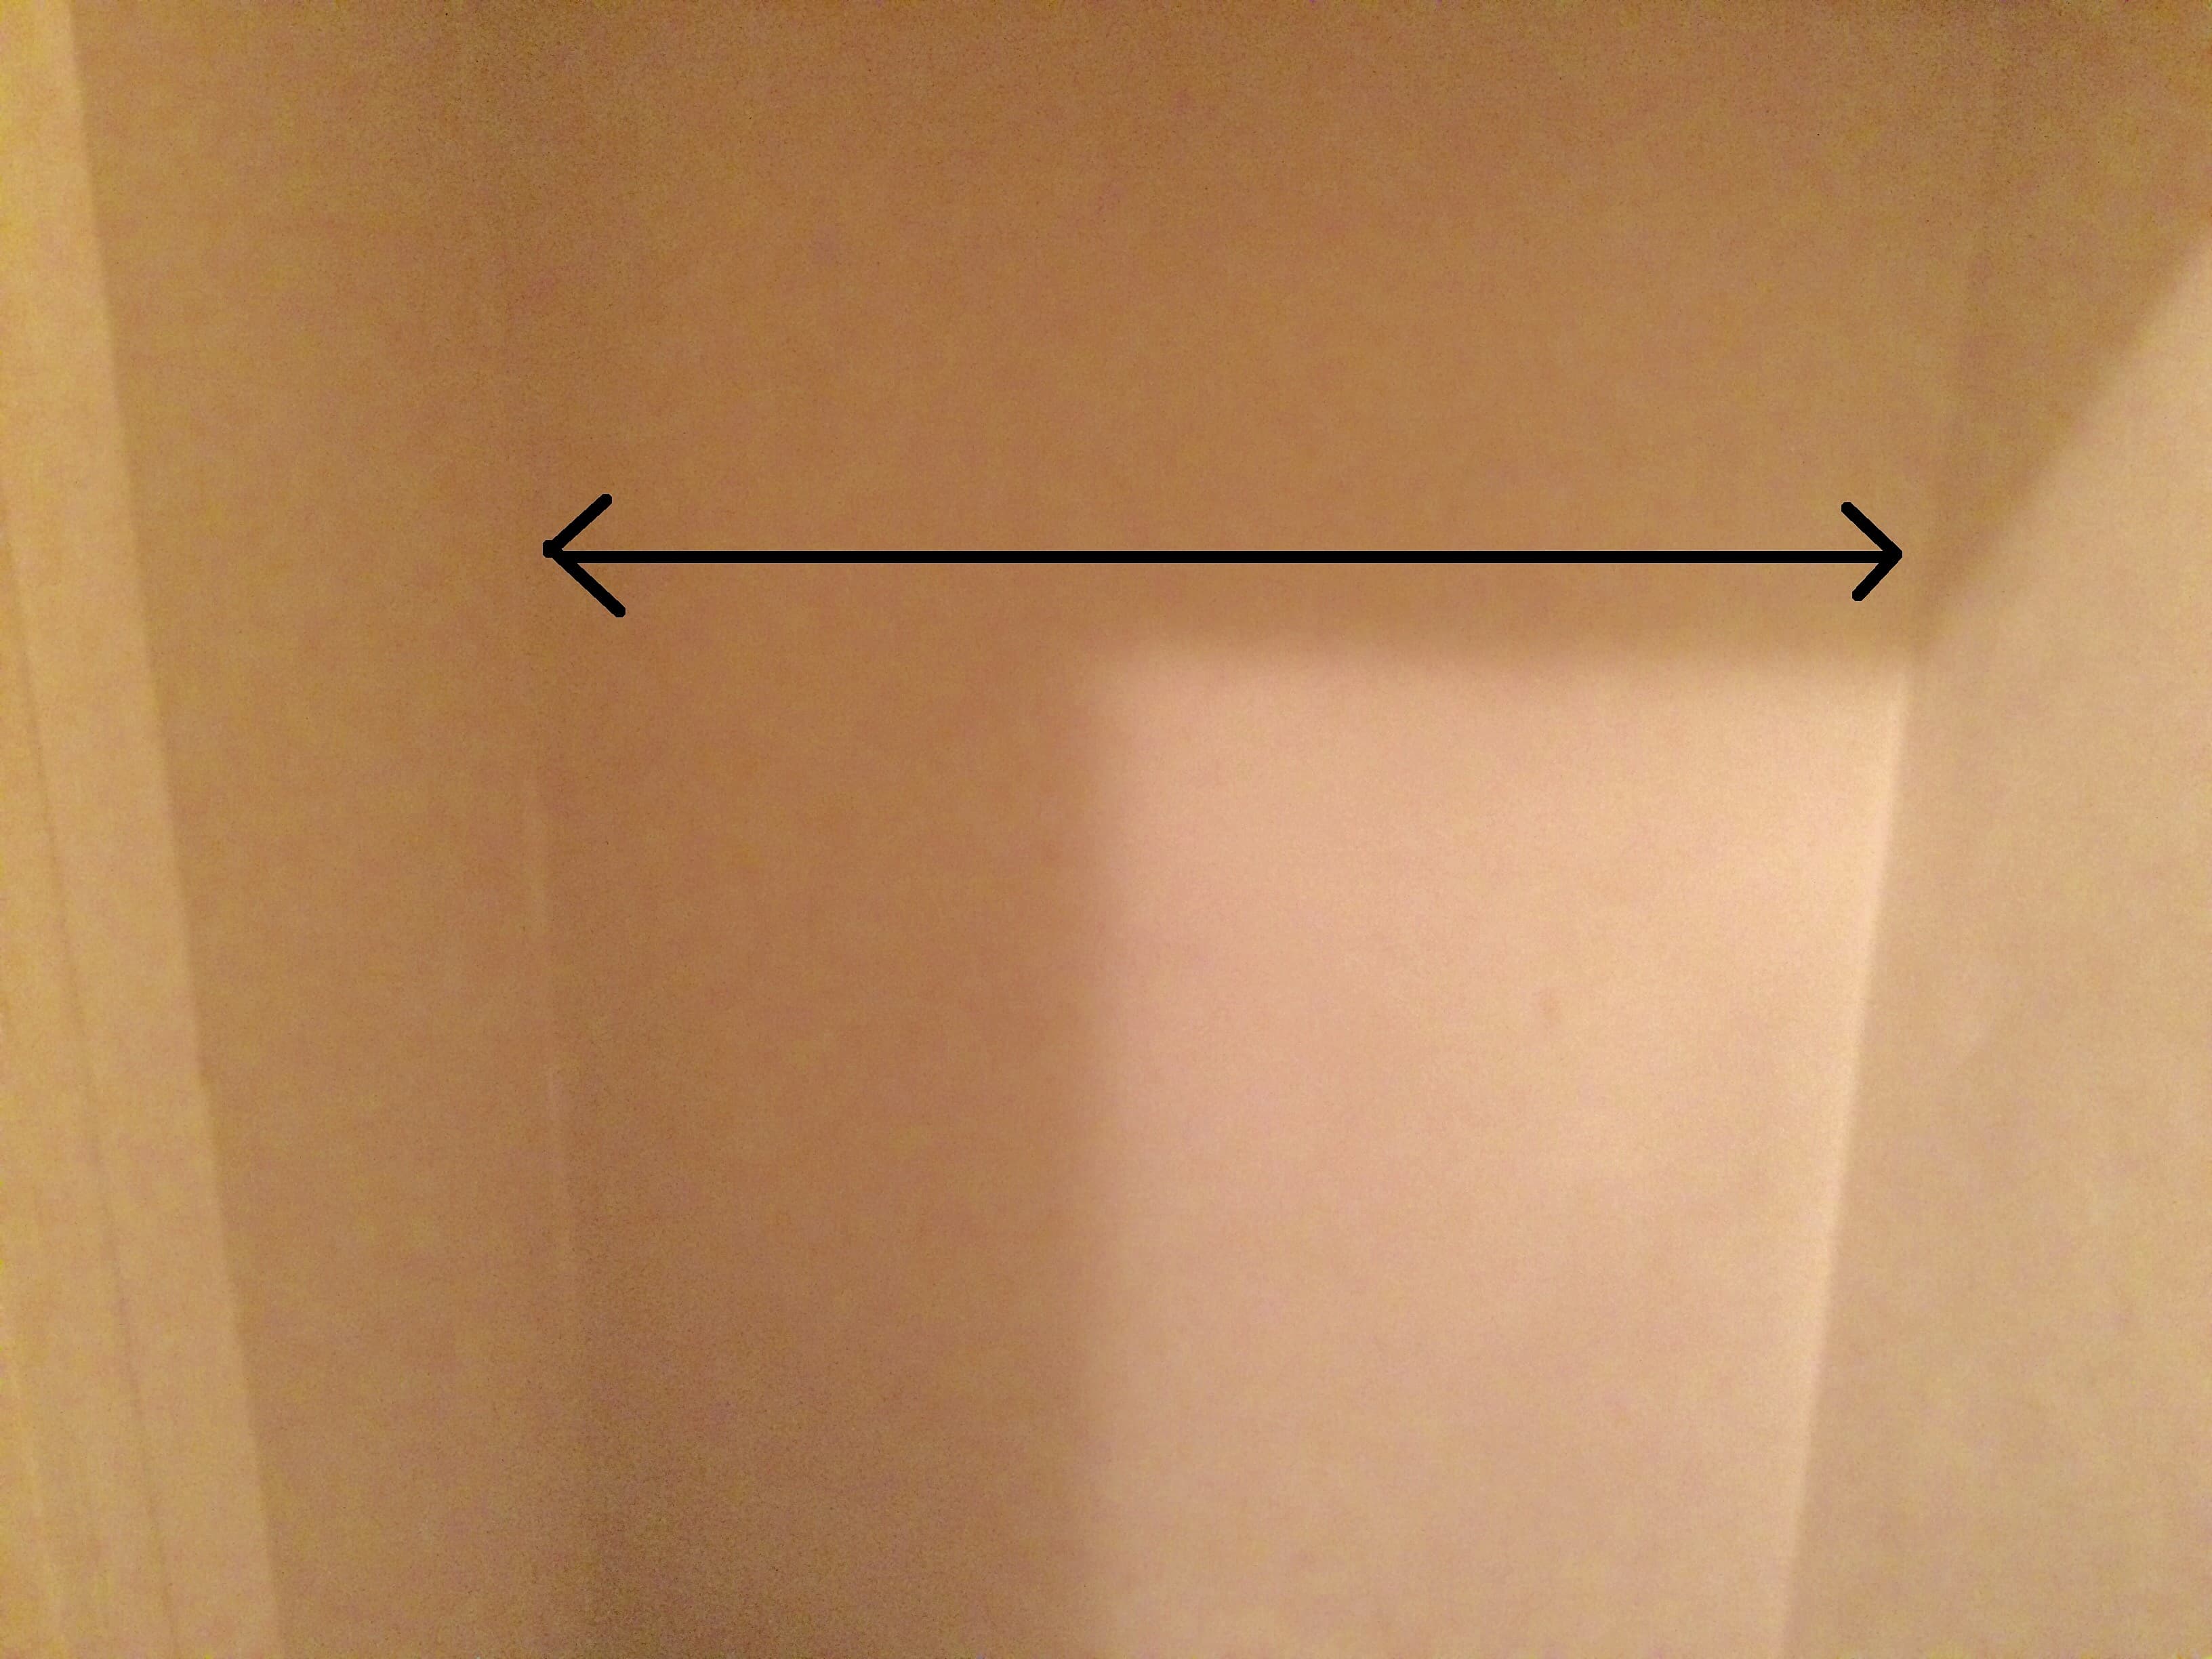
This will be the length of the back support of our shelf.
Next, measure the sides of your closet from the inside of the door, flat against the wall, from front to back.
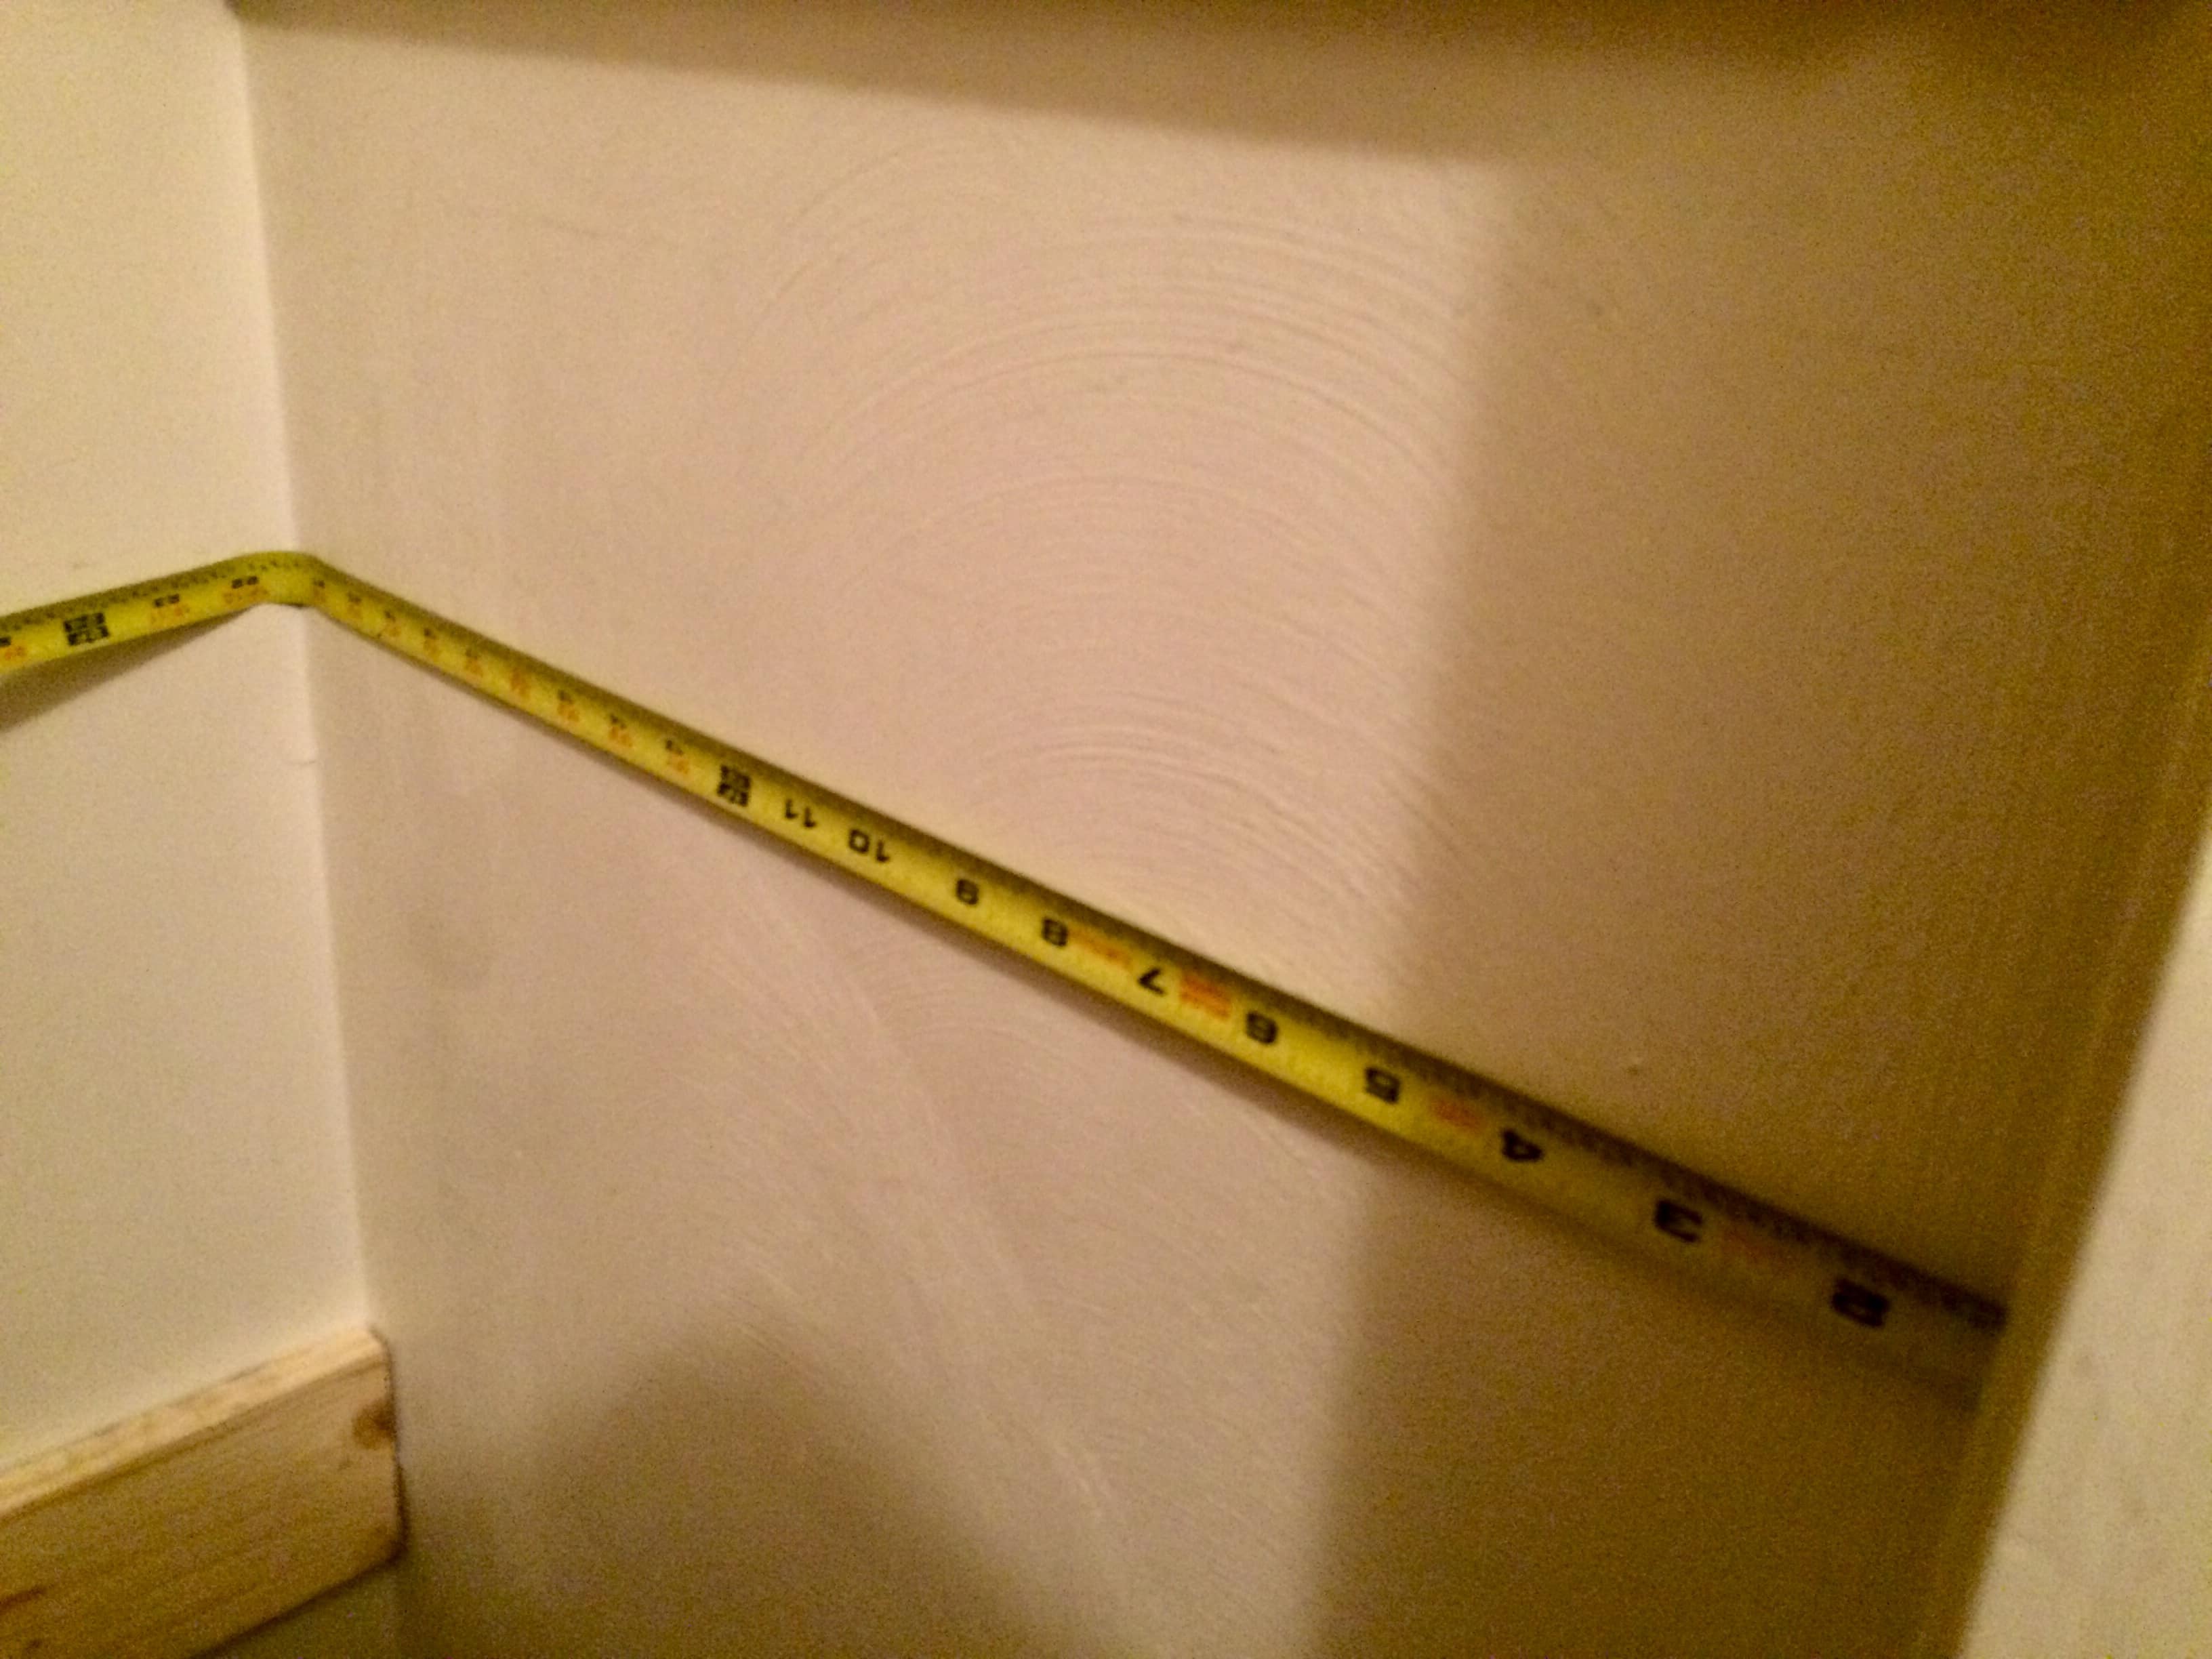
Here’s a slightly better view:
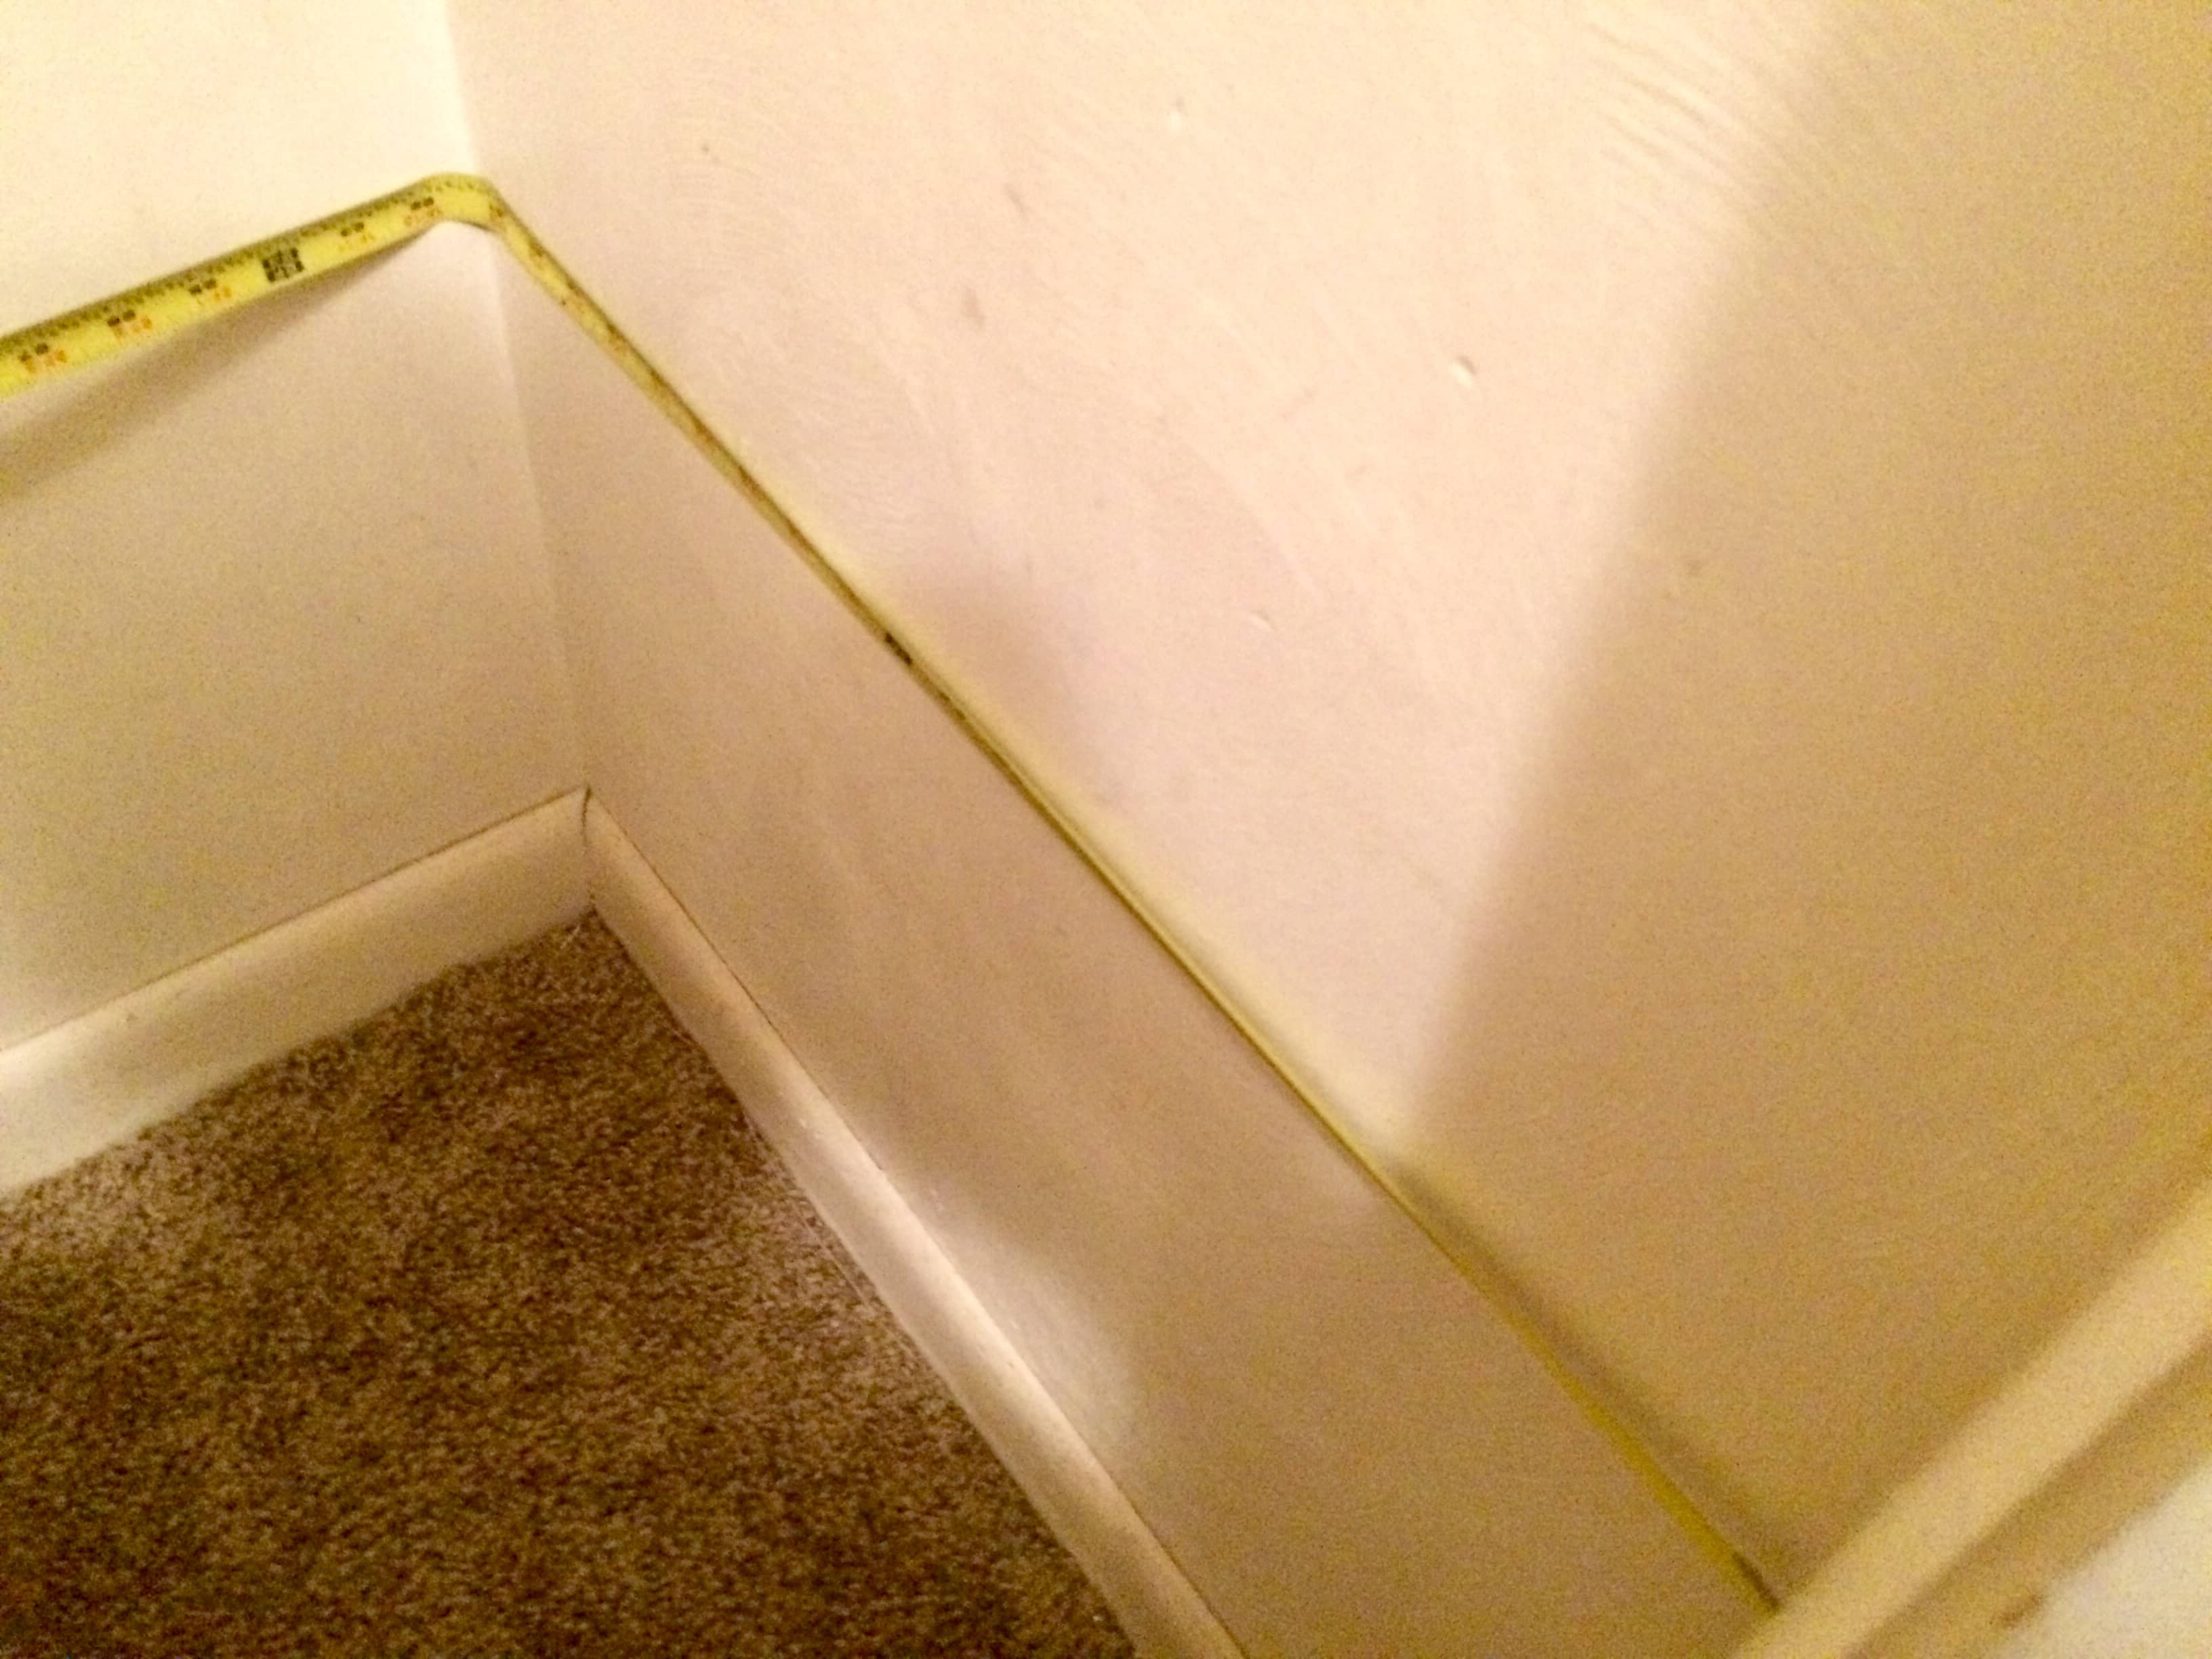
This will be the length of the side supports of the shelf.
Note that these side support pieces will press up against the back support board, and must be shortened accordingly. My side supports were probably .5 inch shorter than the total measurement from front to back.
TAKING MEASUREMENTS FOR THE SHELVES
The shelves are pretty much the same width as the back base board. As long as the shelf has enough width to rest on both side support boards, it should be fine.
We ended up using two pieces, laying front to back, to cover the whole space.
GETTING THE WOOD
You should be able to find everything you need at one of those big box stores.
We went to Home Depot.
They were even able to cut the wood to the specific sizes we needed! Just make sure you have all your measurements written down before you go. Better yet, grab a cart before you enter, find the wood you need, load your cart and mark the boards up to your specification – it makes the cutter’s job way easier! And be nice! Also know that most places that do this charge a fee for each cut, and they can’t do precision cuts, meaning they can’t cut very fine measurements.
I’ve also heard mixed things about getting wood cut at the Home Depot. Because our measurements don’t have to be *that* exact, I think it should be fine. It also helps if you’re extra nice to the cutter and you don’t go when it’s super busy (before 9 am and after 3 pm are their busiest times).
INSTALLING THE SHELVES
Installing the shelves is pretty easy.
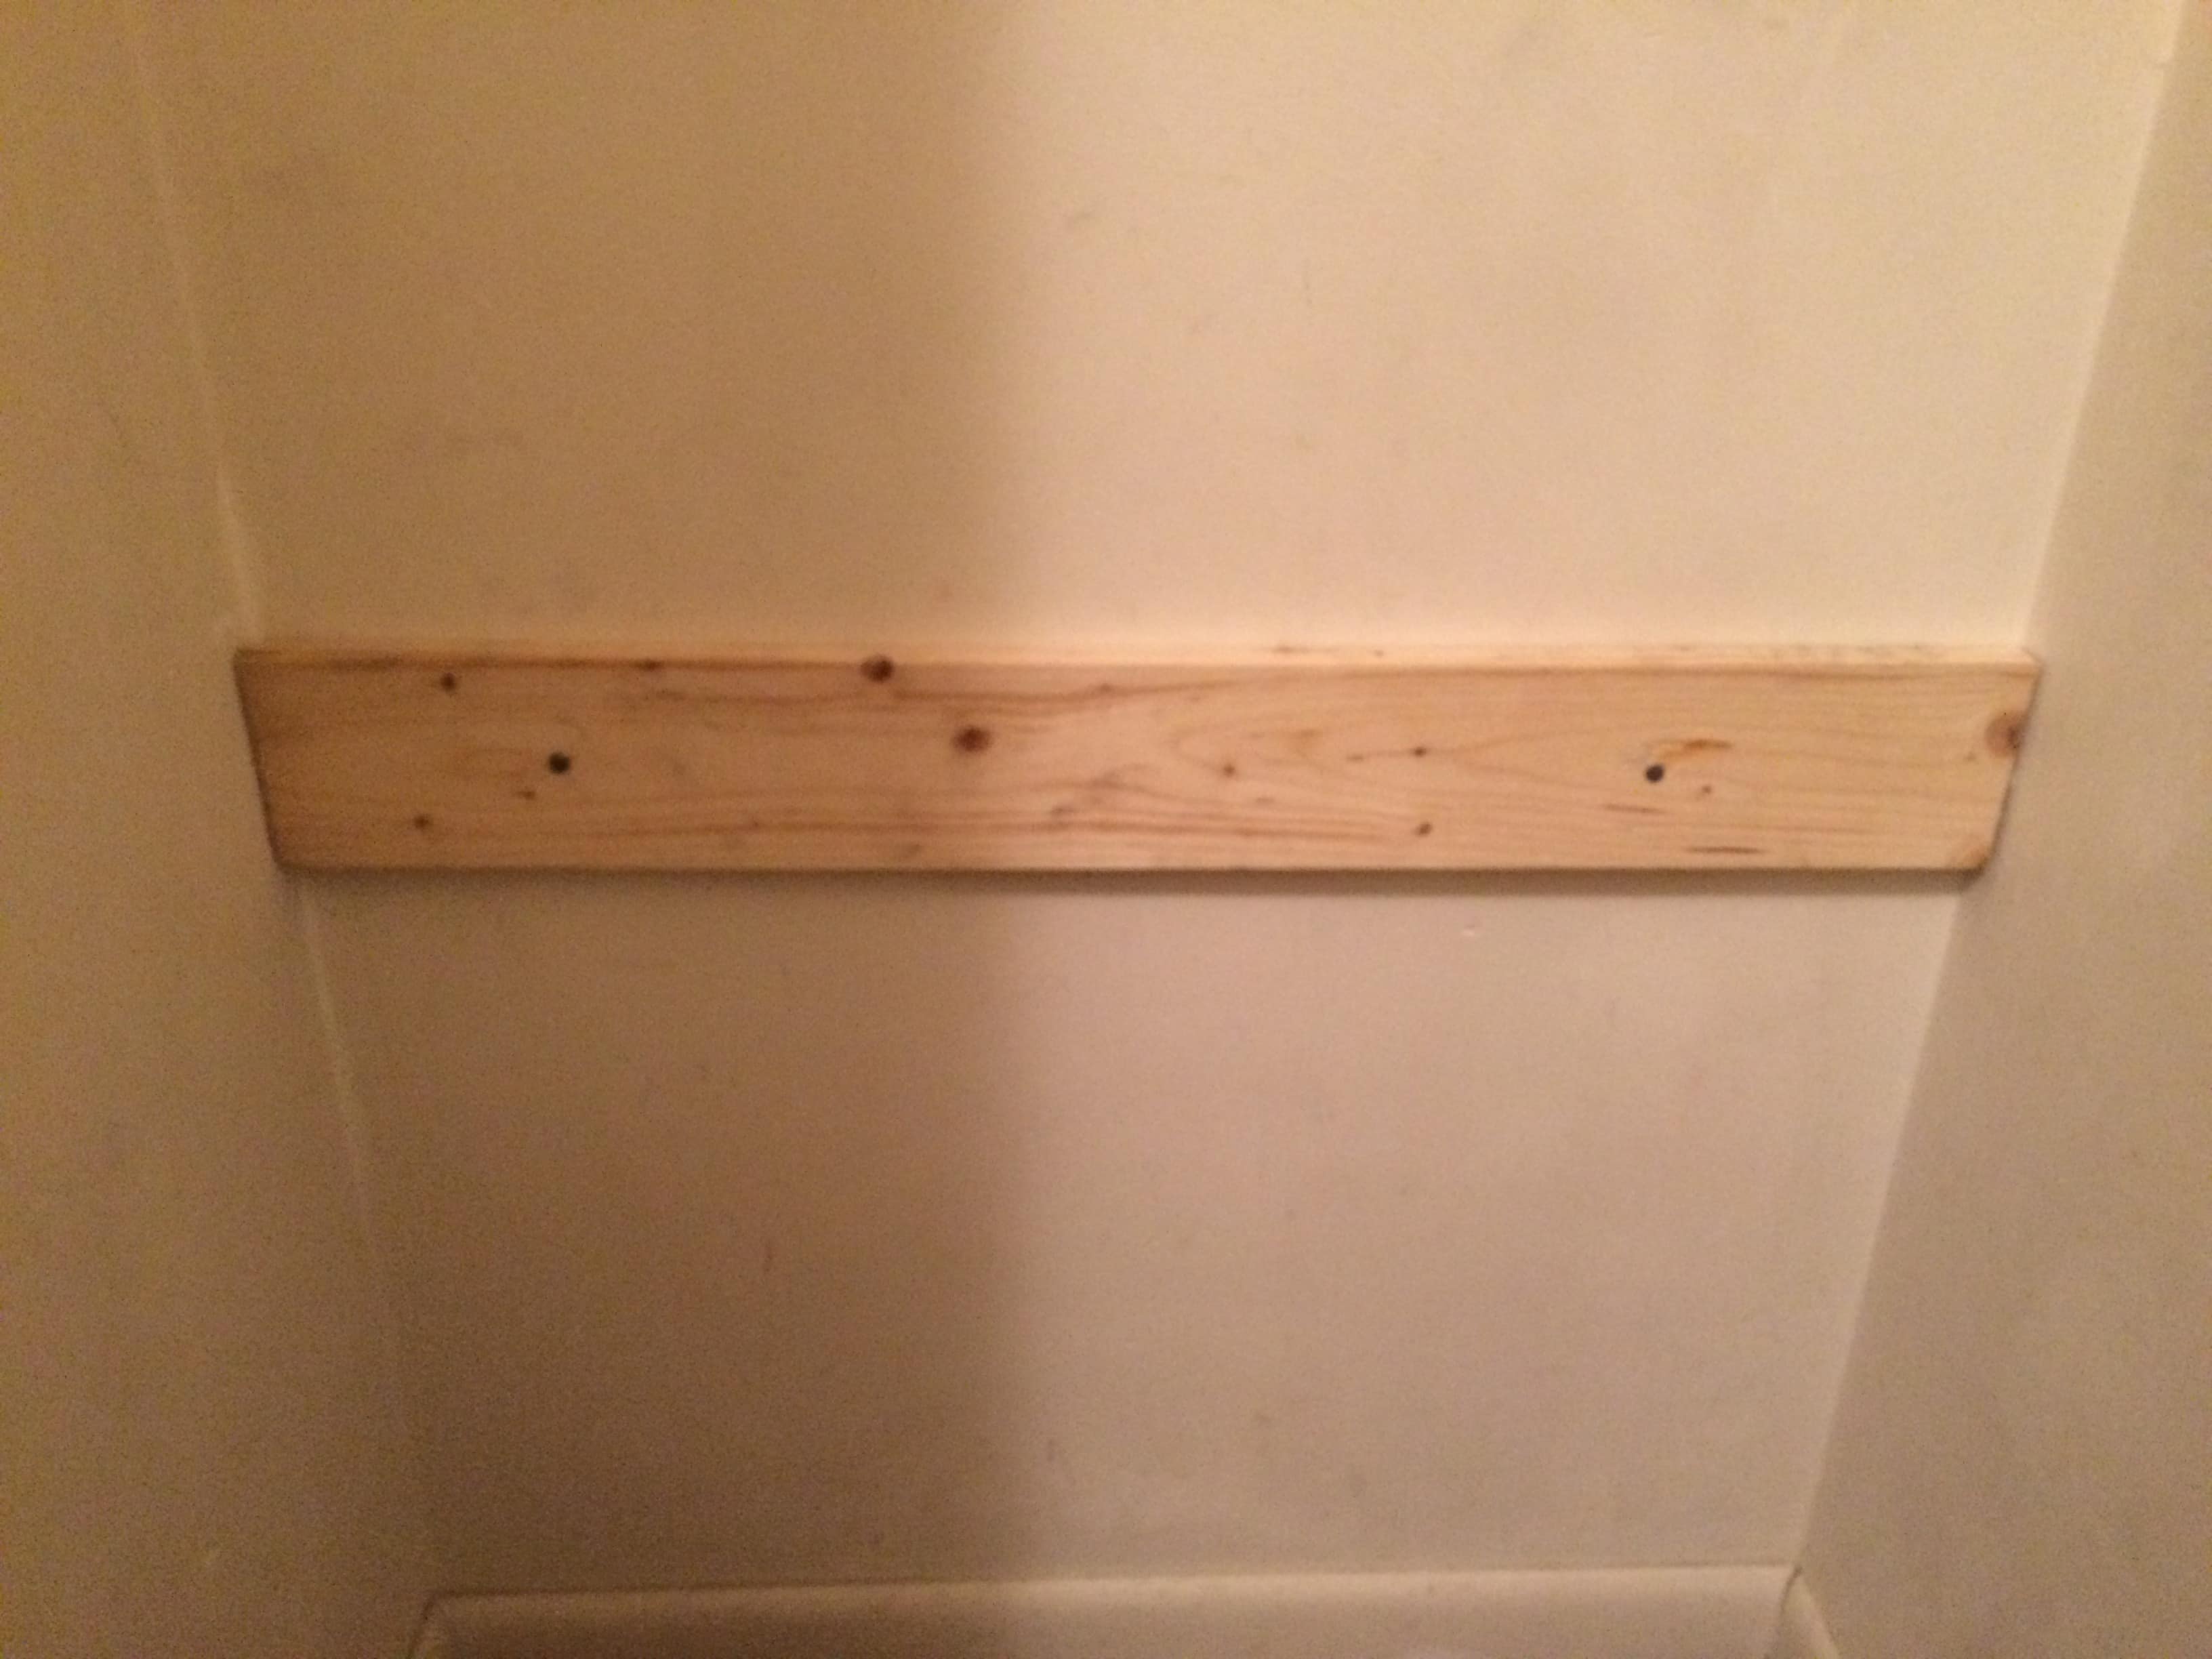
First, place the backboard piece flat against the back wall of your closet, and hammer in one nail at each end:
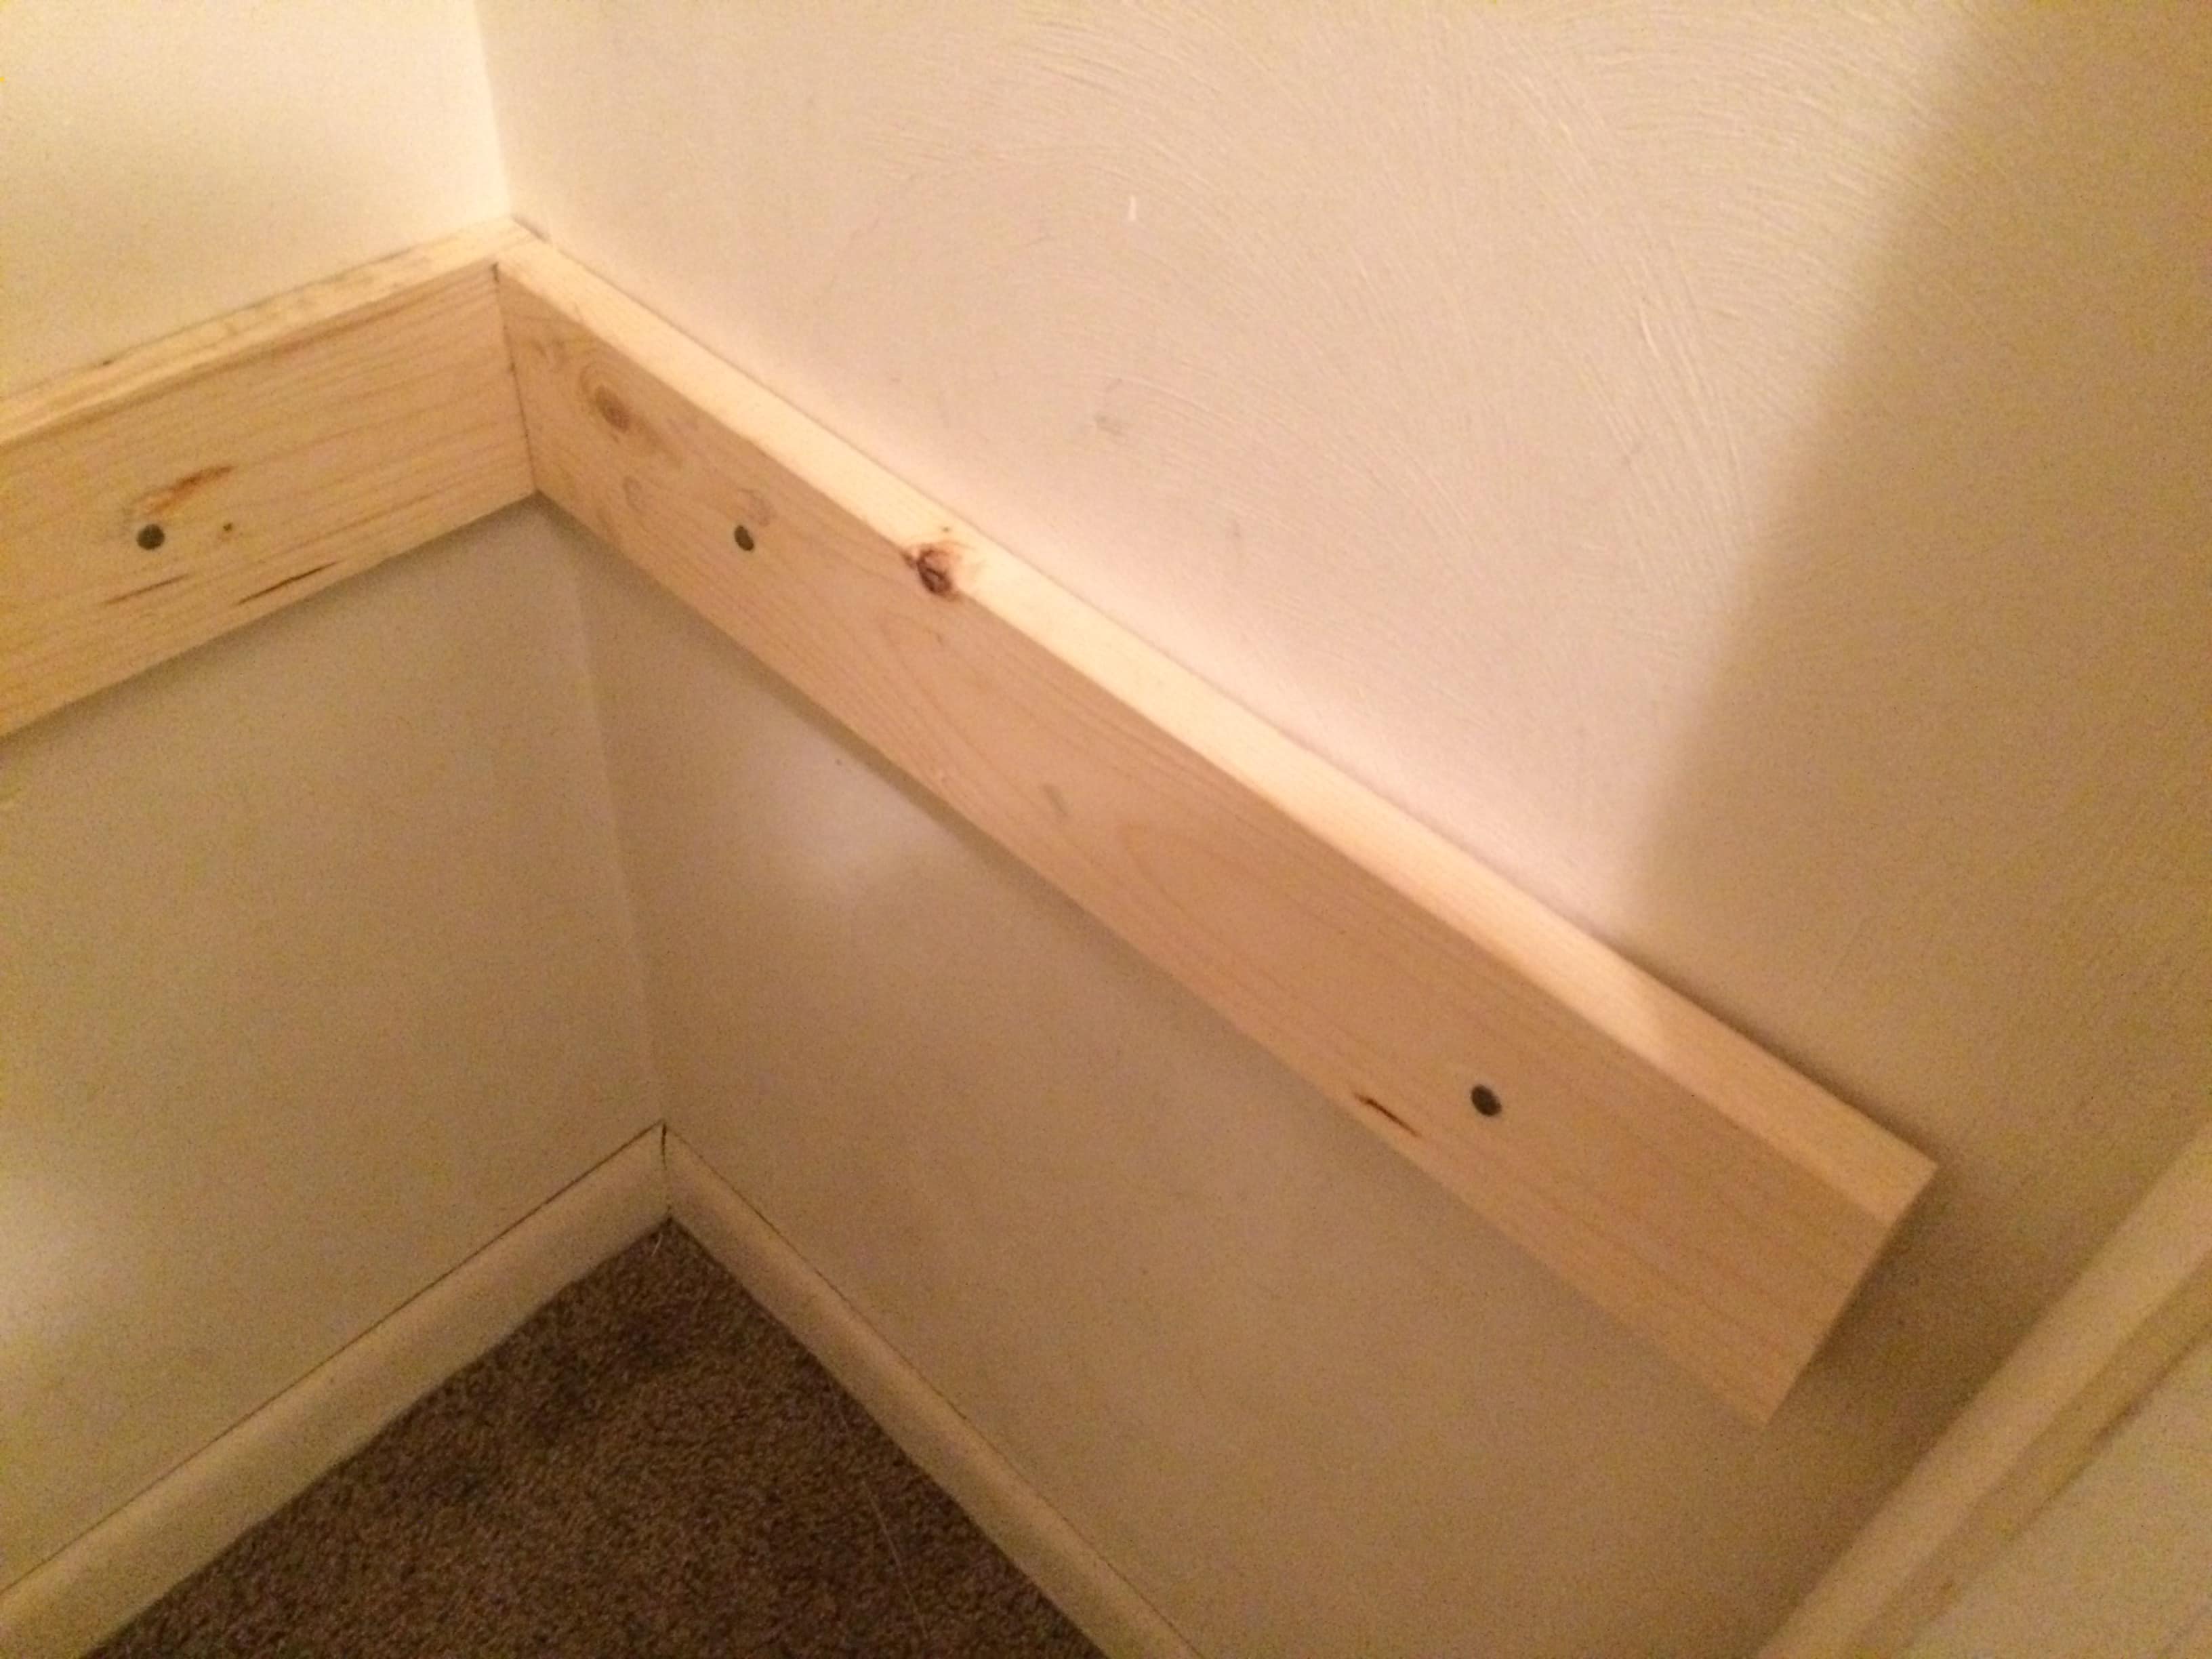
Then, place a side support piece in place and line it up with the back board, then nail it in:
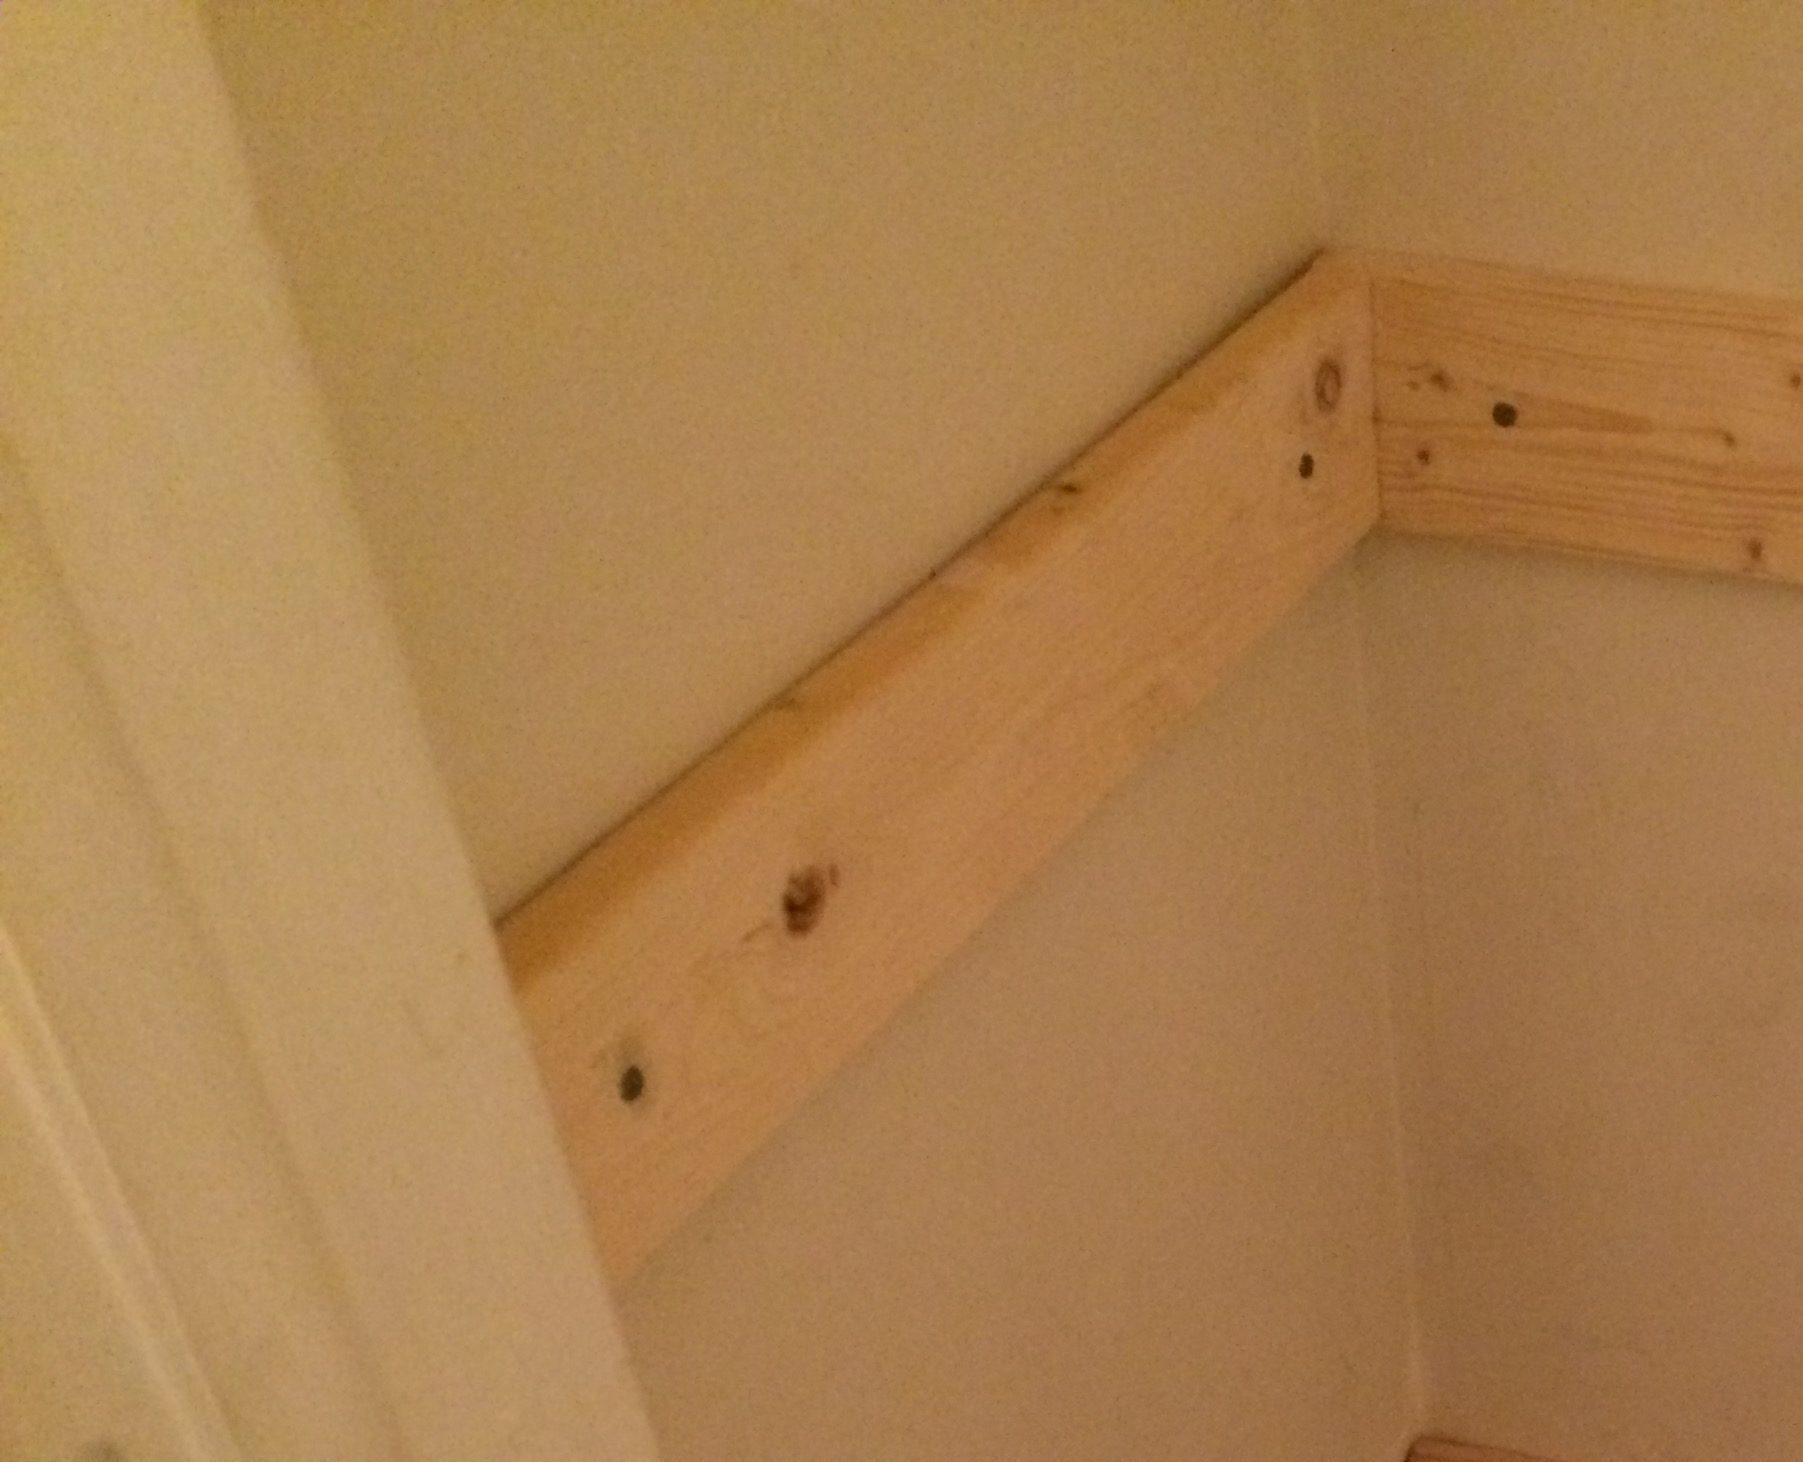
Do this for each side, making sure the boards are level:
And continue to do this for however many shelves you’d like in your closet.
Lay the boards on top and huzzah, you’ve got a brand spankin new closet that holds waaaaay more stuff than before! Whatcha gonna do with all that space?
CONCLUSION
What do you think of this frugal fix-up? Does it inspire you to find a cheap way to fix up your home? Let me know in the comments!


Leave a Reply